Free Printable Beginner Crochet Cheat Sheet PDF
Download our comprehensive 1-page PDF reference guide featuring slip knot, chain stitch, single crochet steps, and hook holding techniques!
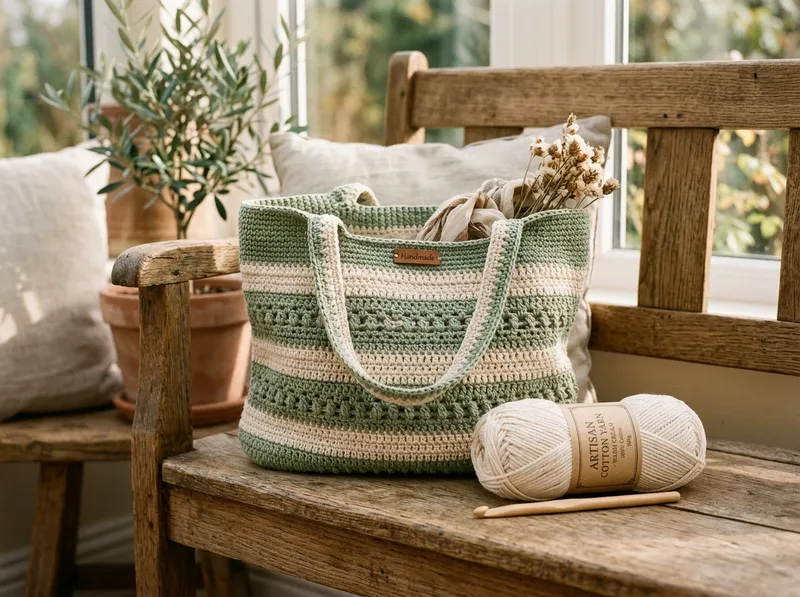
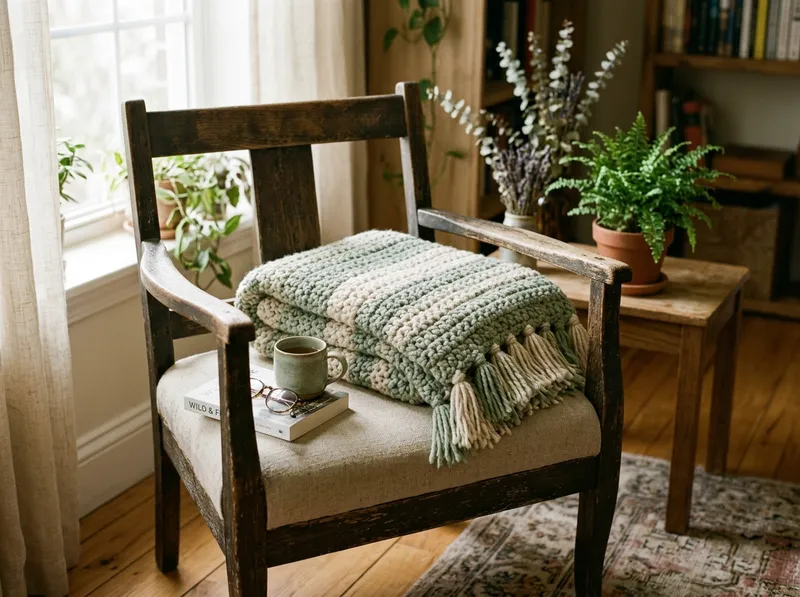
Welcome to the wonderful world of crochet! If you have ever dreamed of crafting your own cozy blankets, cute amigurumi plushies, warm beanies, or stylish tote bags, you are in the right place.
Crochet is an incredibly relaxing, therapeutic, and rewarding handmade craft that requires only two basic items to start: a single hook and a ball of yarn. Not only is crochet a wonderful creative outlet, but many makers also turn their new skills into small businesses selling handmade plushies, accessories, and garments!
In this ultimate beginner’s guide, we will break down how to crochet for beginners step-by-step—from picking your first materials and holding your hook, to making basic stitches, reading patterns, counting stitches, and completing your very first project.
⚡ Quick Summary: How to Crochet in 4 Steps
[!NOTE] AI Quick Answer: Learning how to crochet involves 4 basic fundamentals:
- Make a Slip Knot: Form an adjustable loop of yarn and slide it onto your crochet hook.
- Chain Foundation: Wrap the yarn over your hook (Yarn Over) and pull through the loop to create a chain.
- Work Basic Stitches: Insert your hook into the chain, yarn over, pull up a loop, and pull through to form single, half double, or double crochet stitches.
- Turn & Fasten Off: Chain at the end of each row, flip your work over, repeat, and weave in your yarn ends with a tapestry needle.
❤️ What is Crochet? (And How is it Different from Knitting?)
Before diving into stitches, let’s clear up the most common question beginners ask: Is crochet the same as knitting?
- Crochet: Uses a single hook with a curved tip to interlock yarn loops one stitch at a time. It works up faster, creates a firm structured fabric, and is ideal for amigurumi plushies, blankets, baskets, and market bags.
- Knitting: Uses two pointed needles to hold dozens of open loops on the needles at once. Knitting creates a lighter, stretchier fabric commonly used for thin socks and fine sweaters.
Common Beginner Myths Debunked
- “Isn’t crochet hard to learn?” Not at all! Like any new physical skill, your fingers need a little practice to build muscle memory. Once you master the basic slip knot and single crochet, everything else falls into place.
- “Is crochet expensive?” No! You can start with a single $3 yarn skein and a $2 crochet hook.
🧶 Starter Materials Checklist for Absolute Beginners
You don’t need a craft room full of supplies to start crocheting! Here are the 4 essential starter items:
| Tool / Material | Recommended Starter Specs | Why It Matters for Beginners |
|---|---|---|
| 1. Crochet Hook | 5.0 mm (US H-8) Ergonomic Hook | Standard size, easy to hold, glides smoothly |
| 2. Yarn | Medium Worsted Weight #4 Acrylic or Cotton | Smooth texture, easy to see individual stitches |
| 3. Tapestry Needle | Blunt Steel Yarn Needle (Bent-Tip) | Essential for weaving in loose yarn ends |
| 4. Scissors & Markers | Micro Snips & Locking Stitch Markers | Trims yarn cleanly & locks active loops |
[!IMPORTANT] Avoid Dark & Fuzzy Yarns First! When learning how to crochet for beginners, avoid black, dark navy, or fuzzy chenille/novelty yarns. Dark colors make it nearly impossible to see where to insert your hook! Stick to bright, smooth pastel shades (like Sage Green, Cream, or Dusty Rose) for your first practice swatches.
🧵 How to Find the End of Your Yarn Skein
When you buy a ball (skein) of yarn, you will notice two yarn ends:
- Outer End: Tucked around the paper wrapper on the outside of the skein.
- Center-Pull End: Hidden inside the middle core of the skein.
Why Use a Center-Pull End?
Pulling yarn from the center allows the skein to sit calmly in your lap or yarn bowl without rolling across the floor!
[!TIP] Beware of “Yarn Barf”! If you reach into the center of a skein and pull out a small clump of tangled yarn, don’t panic! Crocheters affectionately call this “yarn barf.” Gently unravel the small clump to locate the yarn end—it will pull smoothly out of the skein once freed!
🖐️ How to Hold Your Crochet Hook & Yarn
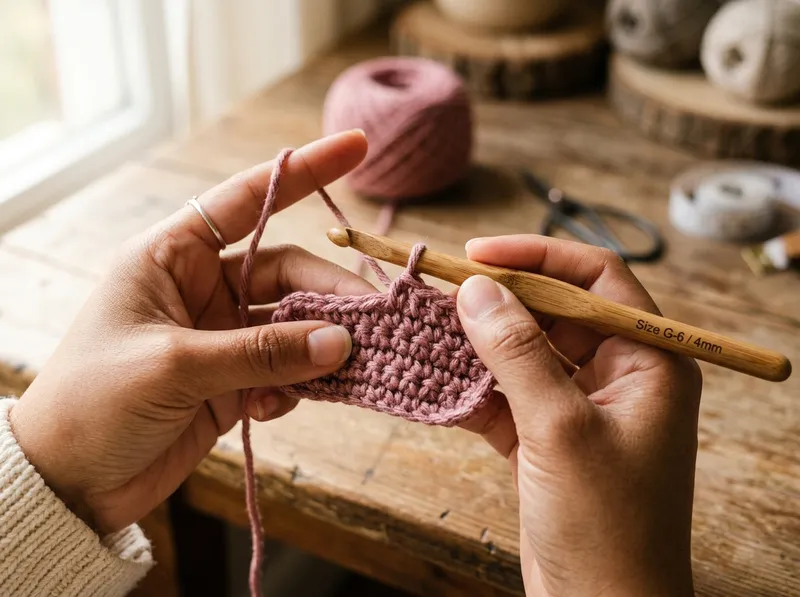
How you hold your tools affects your tension (how tight or loose your stitches are) and prevents hand cramping.
1. Two Ways to Hold Your Crochet Hook
- Pencil Grip: Hold the flat thumb rest of the hook between your thumb and index finger like a pencil. Best for precision and light control.
- Knife (Overhand) Grip: Overcast your hand over the hook handle like holding a dinner knife. Best for ergonomic rubber hooks and reducing wrist strain.
2. How to Hold Your Yarn for Tension Control
Hold your hook in your dominant hand and your yarn in your non-dominant hand. Try this classic tensioning wrap:
- Pass the working yarn under your pinky finger.
- Wrap it once around your index finger, letting it drape over your palm.
- Pinch the base of your active stitch using your middle finger and thumb.
Lifting your index finger increases tension, while relaxing it feeds more yarn from the skein!
🪢 Step-by-Step Fundamentals: Slip Knot & Chain
Step 1: Making a Slip Knot
Every crochet project begins with a slip knot on your hook:
- Cross the yarn tail over the working yarn to form a loop.
- Reach through the loop, grab the working yarn strand, and pull up a loop.
- Insert your crochet hook into the new loop and pull the short tail gently to tighten it around the hook.
Step 2: Making a Foundation Chain (ch)
- Hold your hook and tension your yarn.
- Yarn Over (
yo): Wrap the working yarn over your hook from back to front. - Rotate the hook mouth downward and draw the yarn through the loop on your hook. You have made 1 chain stitch!
- Repeat 15 times to create your practice foundation chain.
📍 Where to Insert Your Hook: Chains vs. Stitches
Understanding stitch anatomy is crucial for clean work:
1. Working into a Foundation Chain
Look at your chain—each chain link forms a sideways “V” shape.
- Upper V-Loop: Slide your hook under the top strand of the V. This is the standard method for most patterns!
- 3rd Back Loop: Flip the chain over to see the bumps on the backside. Working into the 3rd loop creates a clean, braid-like bottom edge.
2. Working into Stitches & Turning Your Work
When you complete a row, chain 1 (or 2/3), then turn your work horizontally like turning a page in a book. Insert your hook under BOTH top V-loops of the stitch below.
📊 Mastering the Core Basic Stitches
Here is a quick-reference guide to the primary crochet stitches:
| Stitch Name | Abbreviation | Stitch Height | Best Project Uses | Turning Chain |
|---|---|---|---|---|
| Slip Stitch | sl st | Flat | Edging, seaming, joining rounds | None |
| Single Crochet | sc | Short & Firm | Amigurumi plushies, tote bags | ch 1 (does not count) |
| Half Double Crochet | hdc | Medium | Beanies, textured blankets | ch 1 or ch 2 |
| Double Crochet | dc | Tall | Granny squares, summer tops | ch 3 (counts as 1st dc) |
| Treble Crochet | tr | Extra Tall | Open lacework, shawls, mandalas | ch 4 (counts as 1st tr) |
🔤 Decoding Crochet Patterns & Abbreviations
Crochet patterns use standard shorthand code established by the Craft Yarn Council.
Common US Abbreviations Key
ch: Chain stitchyo: Yarn oversc: Single crochethdc: Half double crochetdc: Double crochetsl st: Slip stitchst(s): Stitch(es)inc: Increase (work 2 stitches into 1 stitch)dec: Decrease (single crochet 2 stitches together)
[!WARNING] US vs. UK Terminology Alert! American (US) and British (UK) patterns use the same terms for different stitches! For example, a US Single Crochet (
sc) is called a UK Double Crochet (dc). Always check if your pattern uses US or UK terms!
🔢 Stitch Counting & Using Stitch Markers
The single most common mistake beginners make is accidentally losing or adding stitches at the end of rows, turning a square swatch into a triangle!
How to Keep Edges Perfectly Straight:
- Count Every Row: At the end of every row, count the top V-shapes across your fabric.
- Use Locking Stitch Markers: Place a locking marker into the very first stitch of every row. When you return on the next row, you’ll know exactly where your final stitch belongs!
🪡 Weaving in Ends Cleanly
At the end of your project, you will have loose yarn tails.
- Cut your working yarn leaving an 8-inch tail.
- Pull the tail through the last active loop to lock it.
- Thread the tail onto a blunt tapestry needle and weave it back and forth through the back loops of your stitches in 3 different directions. Cut excess yarn flat!
📏 What is Gauge and Why Does It Matter?
At the top of patterns, you will see a Gauge Note (e.g., 14 sc x 16 rows = 4" x 4").
- When Gauge Matters: Crucial for clothing, sweaters, and beanies! If your gauge is too tight, your sweater will turn out too small.
- When Gauge Doesn’t Matter: Blanket throws, dishcloths, and scarves don’t require exact gauge matching.
If your 4-inch swatch has too many stitches, your hook is too small—switch to a 0.5mm larger hook!
💡 Pro Tips for Beginner Success
- Relax Your Tension: If pushing your hook through stitches feels like a battle, stop and relax your hands! Don’t pull the yarn tight after yarning over.
- Take Breaks: Take a 5-minute hand-stretching break every 30 minutes to prevent palm stiffness.
- Start Small: Choose a small beginner project like an Easy Crochet Flower or a simple coaster for instant gratification!
❓ Frequently Asked Questions (FAQ)
Is crochet easier than knitting for beginners?
Yes! Most beginners find crochet easier because you only manage one active stitch on a single hook at a time, whereas knitting holds dozens of open loops on two needles.
What is the best first project for a beginner?
A small flat rectangular item—like a dishcloth, coaster, mug rug, or a 10-minute Easy Crochet Flower—is the ideal starting project.
Why are my crochet edges wavy or turning into a triangle?
Wavy or slanted edges happen when you skip the first stitch of a row or miss the final stitch. Use a locking stitch marker in your end stitches to keep rows square!
🔗 Essential Related Crochet Tutorials
Continue expanding your skills with our detailed step-by-step guides:
- 🧶 How to Make a Single Crochet Stitch: Detailed visual guide with turning chain rules.
- 🧶 How to Make a Half Double Crochet Stitch: Detailed visual guide with 3rd loop technique.
- 🧶 How to Make The Treble Crochet Stitch: Detailed visual guide for tall lacework stitches.
- ⭕ How to Make a Magic Ring (Magic Circle): Master the secret adjustable loop technique for amigurumi circles.
- 📐 Crochet Hook Sizes Conversion Guide: Match hook sizes to yarn weights.
- 🌸 Easy 10-Minute Crochet Flower Pattern: Perfect first project for beginners!