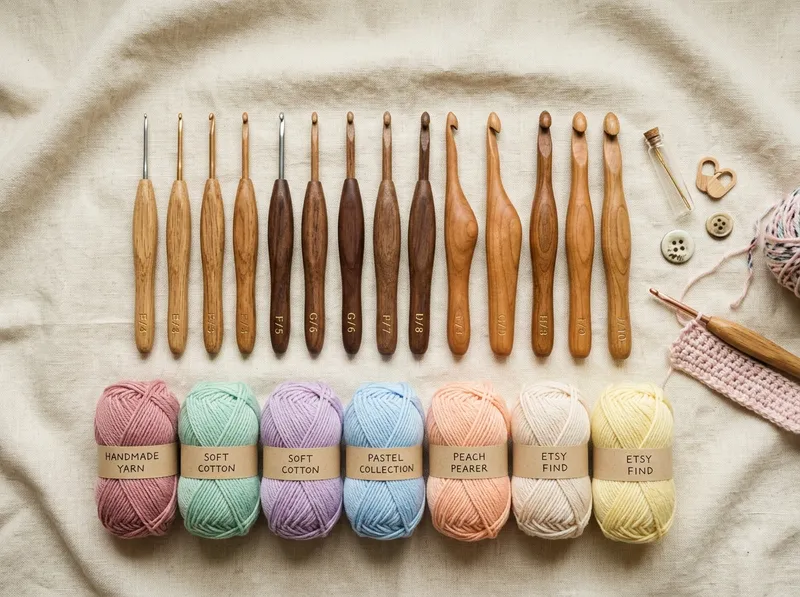
Crochet Hook Conversion Chart: Metric mm, US & UK Sizes
The ultimate crochet hook conversion chart! Instantly convert US letter sizes (B to S) to UK numbers and metric millimeter (mm) sizes with our reversive Q&A guide.
Have you ever picked up a crochet hook only to end up with sore hands, tangled yarn, and a rectangle that somehow turned into a triangle—or wondered, "How can I learn crochet from scratch?"
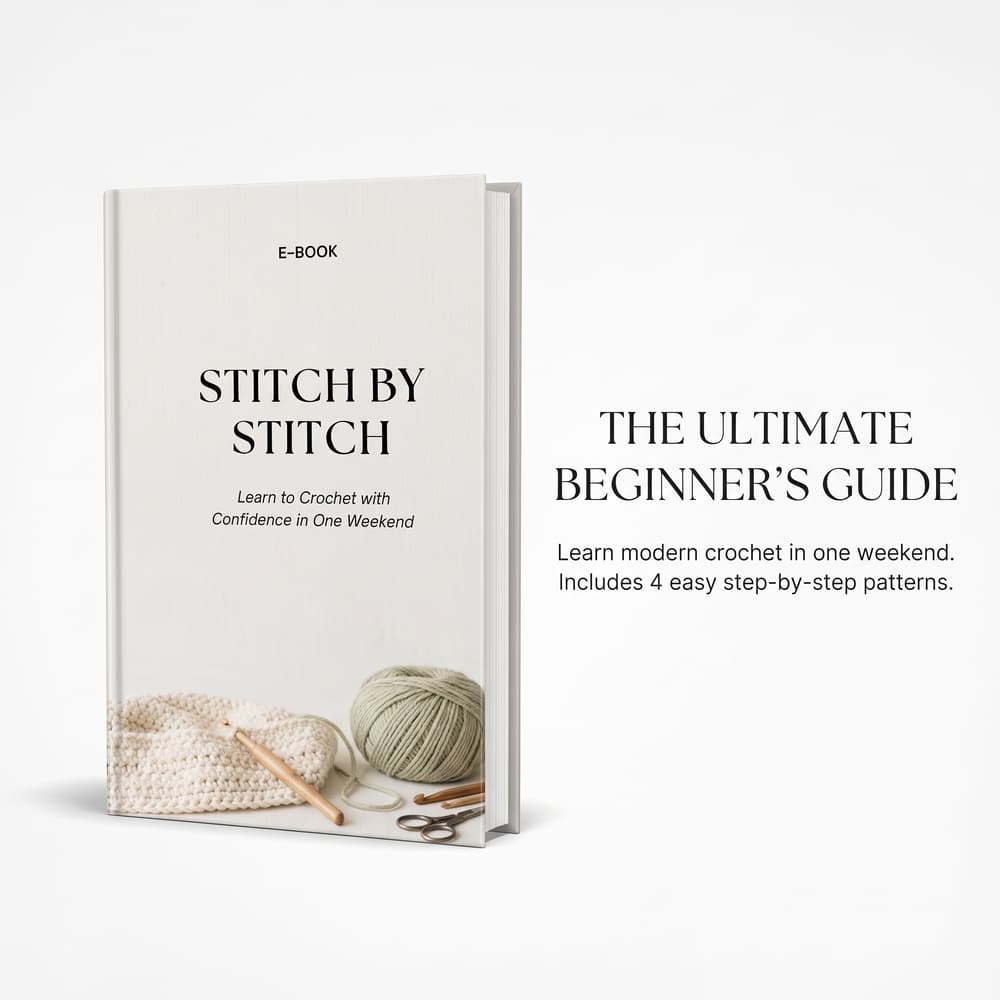
Stitch by Stitch is built to cut through the noise, skip the confusing abbreviations, and get you creating beautiful, modern handmade pieces in a single weekend. Get our complete 74-Page Digital E-Book for just $1.00 below, or scroll down to read the full step-by-step beginner guide on this page!
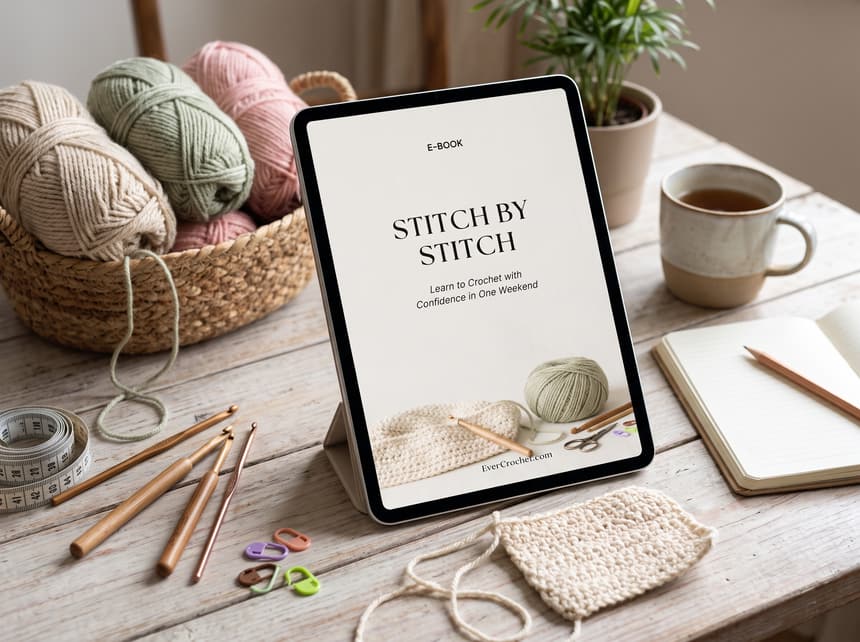
Keep Stitch by Stitch propped open next to your yarn bowl while you practice every stitch at your own pace.
If you are searching "how can I learn crochet?", you don't need expensive classes or a craft room full of supplies. Every crochet project in the world—from cozy blankets to amigurumi plushies—is built from one hook, one strand of yarn, and 4 simple loop movements:
We wrote Stitch by Stitch: Learn to Crochet with Confidence in One Weekend to be the warm, frustration-free companion we wish we had when picking up a hook for the very first time. Here is a look inside all 74 pages:
Demystify the craft store aisle so you buy the exact right hook and yarn on day one—without wasting money on frustrating supplies.
Teach your hands how to cooperate smoothly, hold the hook without wrist strain, and create an even foundation chain.
Master the four foundational movements that build almost every blanket, sweater, plushie, and coaster you will ever make.
Translate the "secret computer code" of written crochet patterns into plain English so you can follow any pattern online.
A quick-reference diagnostic clinic to fix wonky edges, tight loops, and curling chains before you ever feel frustrated.
Turn your practice loops into two modern, gift-worthy handmade pieces—plus learn professional steam & wet blocking.
Walking down the yarn aisle of a craft store for the first time can feel like stepping onto another planet. Shelves stretch from floor to ceiling with hundreds of fibers, and hooks come in wood, aluminum, bamboo, and plastic.
The secret to learning crochet without frustration is starting with the most cooperative tools possible. Ignore 80% of the craft store shelves and grab only these 5 starter items (covered in Chapter 1 of your E-Book):
| Starter Item | Exact Beginner Recommendation | Why It Makes Learning 10x Easier |
|---|---|---|
| 1. Crochet Hook | 5.0 mm (US H-8) or 5.5 mm (I-9) Ergonomic Aluminum Hook with Rubber Grip | Metal tip glides smoothly through yarn; soft rubber handle prevents finger cramping and wrist fatigue. (See Full Hook Size Guide) |
| 2. Starter Yarn | Weight Category #4 (Worsted / Medium) in 100% Acrylic or Cotton Blend | Thick enough to see individual "V" stitch loops clearly without slipping off your hook. (See Yarn Weight Guide) |
| 3. Yarn Color | Smooth, Light Solid Color (Cream, Soft Sage, Oatmeal, Blush Pink, Mustard) | #1 Beginner Rule: Never buy black, navy, fuzzy mohair, or chenille yarn for your first week—they hide stitch anatomy! |
| 4. Stitch Markers | Locking Plastic Stitch Markers (Plastic safety-pin clips) | Clips into the first and last stitch of each row so you never lose count or accidentally shrink your edges. |
| 5. Finishing Notions | Blunt Tapestry Needle & Small Snips | A large-eye blunt needle weaves loose yarn tails invisibly into your finished fabric. (See All 10 Essential Tools) |
Before making a single stitch, your two hands need to learn how to cooperate: your dominant hand guides the crochet hook, while your non-dominant hand feeds the working yarn and controls tension. Give yourself grace during the first 20 minutes—it is teaching your fingers brand-new muscle memory!
Every crochet piece begins with a slip knot—the only knot in crochet meant to slide freely. Whether you use the Tabletop Pretzel Loop Method or the Two-Finger Wrap Method (both illustrated on pages 23–24 of the E-Book), remember the Golden Rule: Your slip knot should rest snugly around the hook's shaft, but slide back and forth effortlessly without strangling the hook.
Tension is the biggest hurdle for beginners. In Chapter 2 of Stitch by Stitch, we break non-dominant hand tension into three simple roles:
Once you can make a smooth Foundation Chain (ch) of 20 stitches and count the braided "V" shapes on the front of the chain (never counting the slip knot or the active loop on your hook!), you are ready for the 4 Core Stitches.
In standard American crochet, stitches are named after their height. Master these four and you can make 95% of every pattern in existence:
| Stitch Name | US Abbr. | Height & Fabric Feel | Turning Chain Height | Does Turning Chain Count as a Stitch? |
|---|---|---|---|---|
| Single Crochet | sc | Short, sturdy, dense (best for amigurumi, baskets & dishcloths) | ch 1 | No — Work your first sc into the very first stitch |
| Half Double Crochet | hdc | Medium height, soft, works up 2x faster without large gaps | ch 2 | Usually No — Work your first hdc into the first stitch |
| Double Crochet | dc | Tall, airy, flexible drape (premier stitch for blankets & scarves) | ch 3 | Yes! — Skip the first stitch and work into the 2nd stitch |
| Treble Crochet | tr | Extra tall, open lacework & fast-growing shawls | ch 4 | Yes! — Skip the first stitch and work into the 2nd stitch |
💡 Beginner Pro Tip — Where Does the Hook Go After Row 1?
After completing Row 1 into your foundation chain, look down at the top edge of your fabric. You will see a neat line of horizontal "V" shapes. Unless a pattern specifically saysBLO(Back Loop Only) orFLO(Front Loop Only), always slide your hook underneath BOTH legs of the "V" (front loop and back loop).
To a beginner, a pattern instruction like Row 2: Ch 1, turn. Sc in first st, *ch 1, sk 1, sc in next; rep from * across — (15 sts) looks like secret computer code. Once you know three formatting rules from Chapter 4 of our E-Book, you can read any pattern on the internet:
*) Show Repeats: Repeat the exact sequence of stitches after the * until you reach the end of the row.( ) Mean Two Things: In the middle of a row—like (2 dc, ch 1, 2 dc) in next st—it means work all those stitches into the exact same hole. At the very end of a row—like — (15 sts)—it is your audit number so you can count your stitches before turning![ ] Show Multiplier Blocks: [Sc in next 2 sts, inc] 4 times means repeat everything inside the brackets 4 times total.The United States and the United Kingdom use the exact same words to mean completely different stitches! If you accidentally follow a British pattern using American stitches, your project will turn out twice as tall:
| Stitch Height | What Americans Call It (US Terms) | What the British Call It (UK Terms) |
|---|---|---|
| Lowest basic stitch | Single Crochet (sc) | Double Crochet (dc) |
| Medium basic stitch | Half Double Crochet (hdc) | Half Treble Crochet (htr) |
| Tall basic stitch | Double Crochet (dc) | Treble Crochet (tr) |
| Extra tall stitch | Treble Crochet (tr) | Double Treble Crochet (dtr) |
The difference between a beginner who gives up and one who finishes a gorgeous blanket is simply knowing how to diagnose what went wrong. Here is our quick-reference diagnostic clinic from Chapter 5 of Stitch by Stitch:
dc) where the ch 3 turning chain already counts as the first stitch.dc, skip the very first base hole and work into the second stitch of the row.
ch) was worked tighter than your Row 1 stitches.Once you've practiced 20-stitch rows, it's time to make something you can actually use and gift! Inside Chapter 6 of the Stitch by Stitch E-Book, we walk you row-by-row through two modern projects designed specifically for your first weekend:
hdc BLO) using ~35 yards of Worsted Weight #4 cotton yarn and a 5.0 mm hook—finished with optional modern knotted fringe.
Get all 74 pages—including the Starter Shopping Checklist, Stitch Anatomy Diagrams, US/UK Glossary, Crochet ER Clinic, and both full Beginner Project Patterns—for just $1.00!
Explore our library of visual stitch tutorials, hook conversion charts, and yarn guides to build on what you learn in the E-Book:
The ultimate crochet hook conversion chart! Instantly convert US letter sizes (B to S) to UK numbers and metric millimeter (mm) sizes with our reversive Q&A guide.
The ultimate crochet hook size chart and crochet hooks conversion chart! Instantly convert crochet hook sizes: Size C, Size 6 letter, 5.0 crochet hook letter, I hook mm & Size 10 in mm.
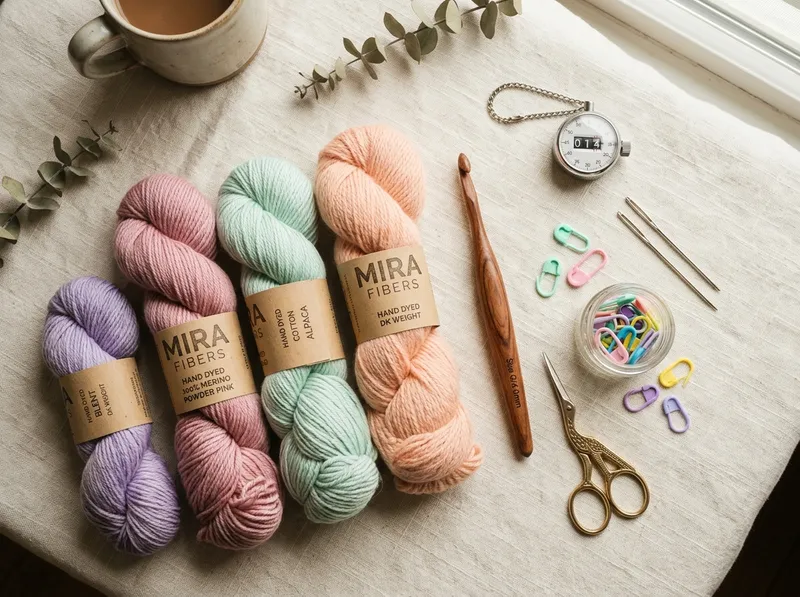
Discover the must-have crochet accessories! In-depth guide covering ergonomic hooks, locking stitch markers, yarn needles, row counters, blocking boards, and where to buy them.
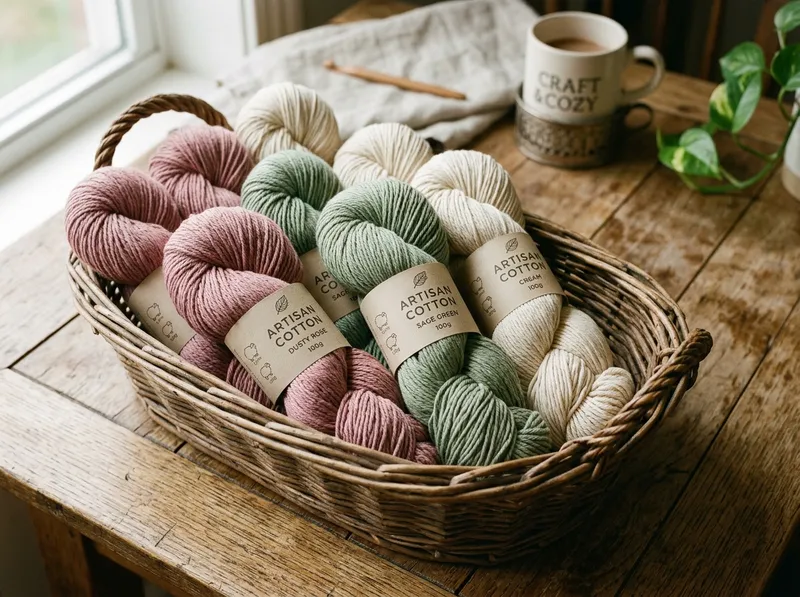
Master yarn selection! Learn standard yarn weights (Fingering to Bulky), fiber types (cotton, wool, acrylic, alpaca), drape, dye lots, yardage math, and trusted yarn stores.
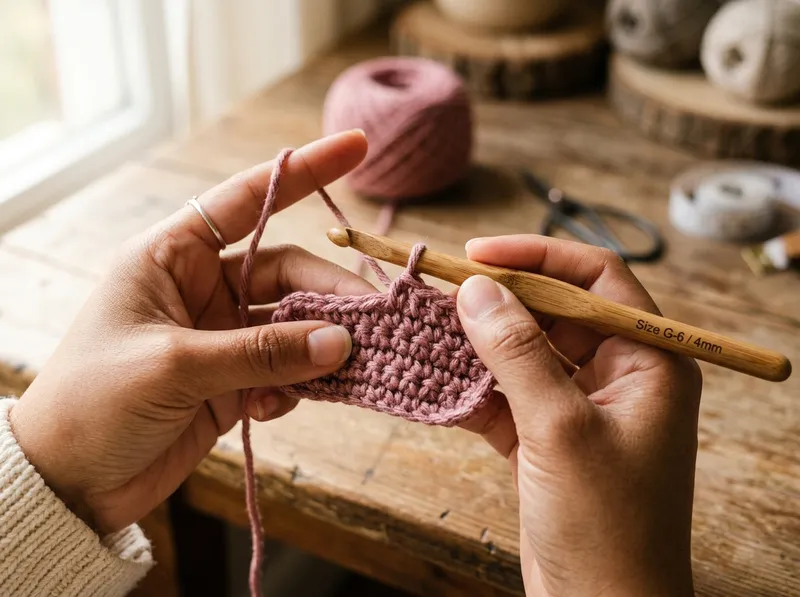
Learn how to crochet for beginners step-by-step! Complete starter guide covering yarn selection, hook grips, slip knots, basic stitches, pattern reading, and gauge.
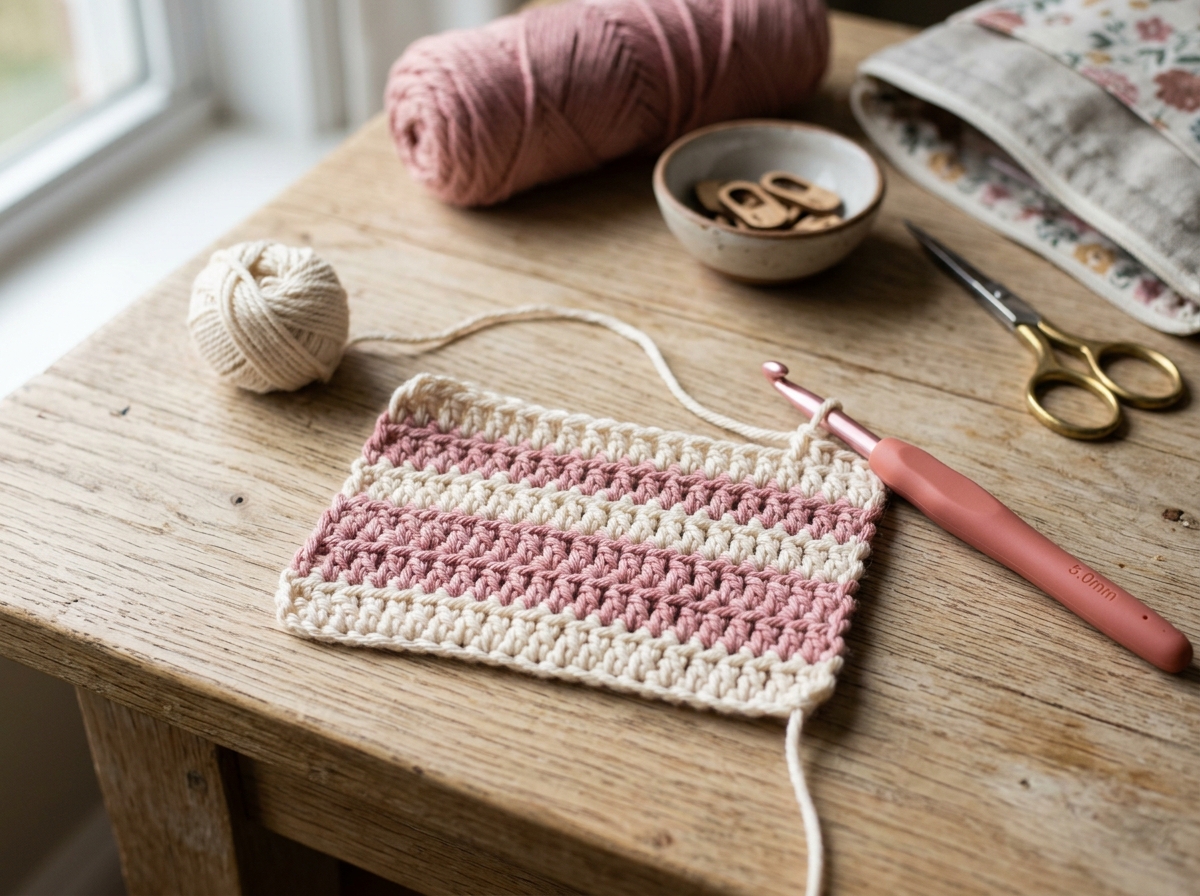
Master the Half Double Crochet Stitch (hdc) with our complete visual step-by-step guide! Learn how to make a half double crochet stitch, turning chain rules, 3rd loop technique, and US vs UK terms.
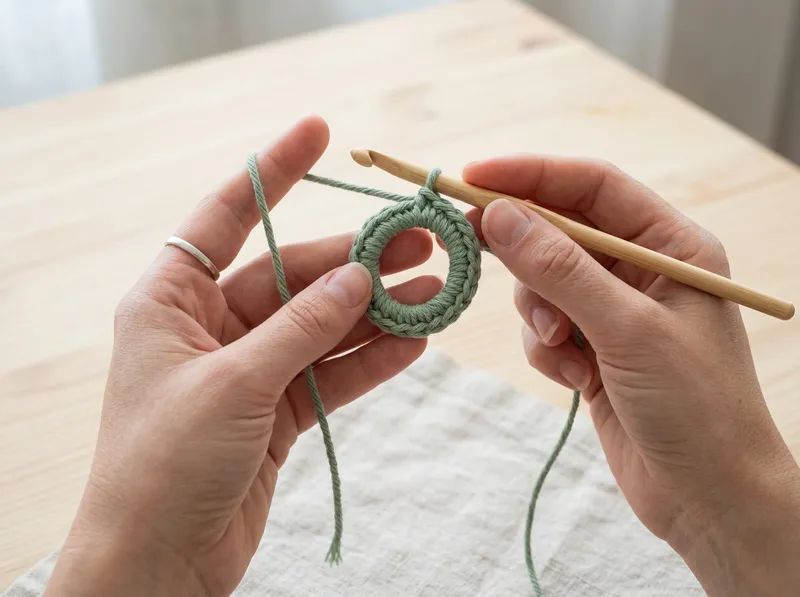
Master the magic ring technique for crochet in rounds, amigurumi plushies, granny squares, and circular motifs. Complete guide with step-by-step photos, alternatives, and troubleshooting.
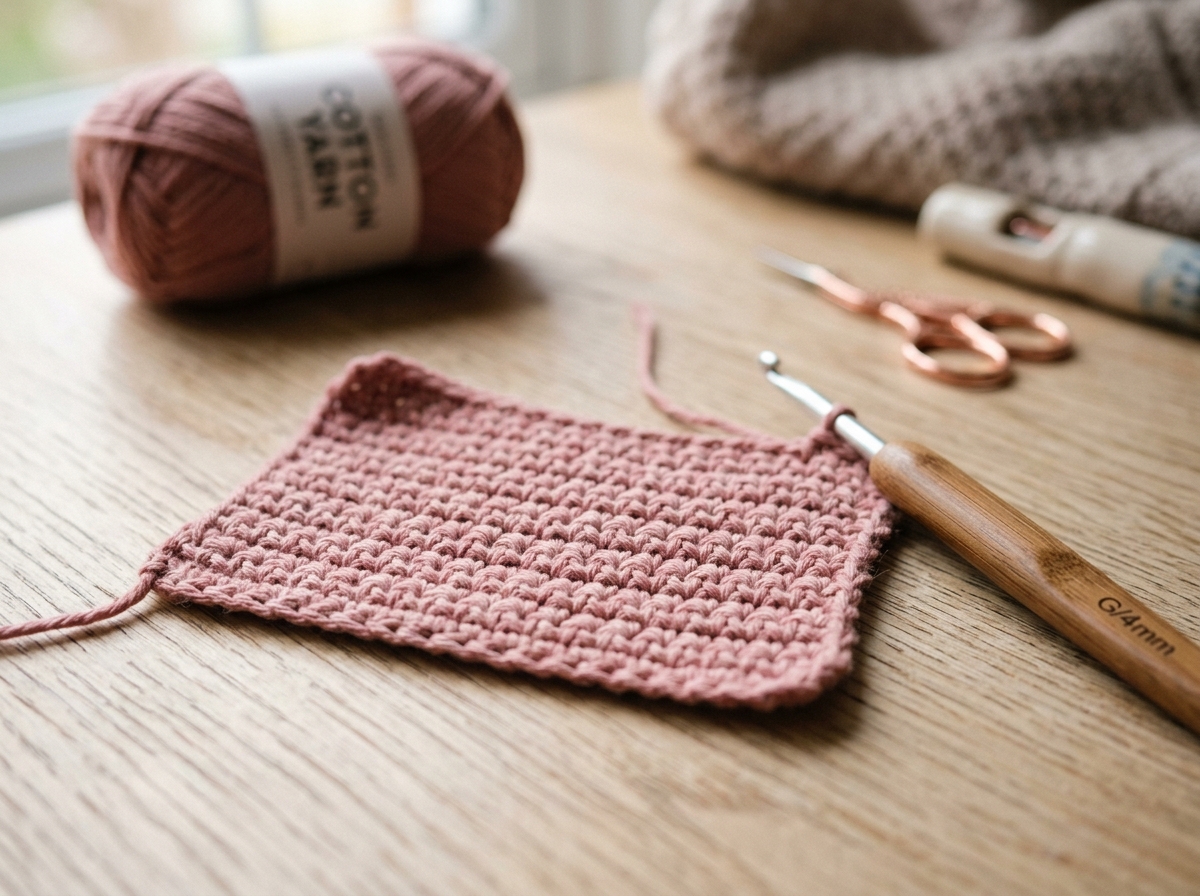
Master how to make a single crochet stitch (sc) with our complete visual step-by-step guide! Learn single crochet basics, turning chain rules (ch 1), US vs UK terms, and amigurumi tips.
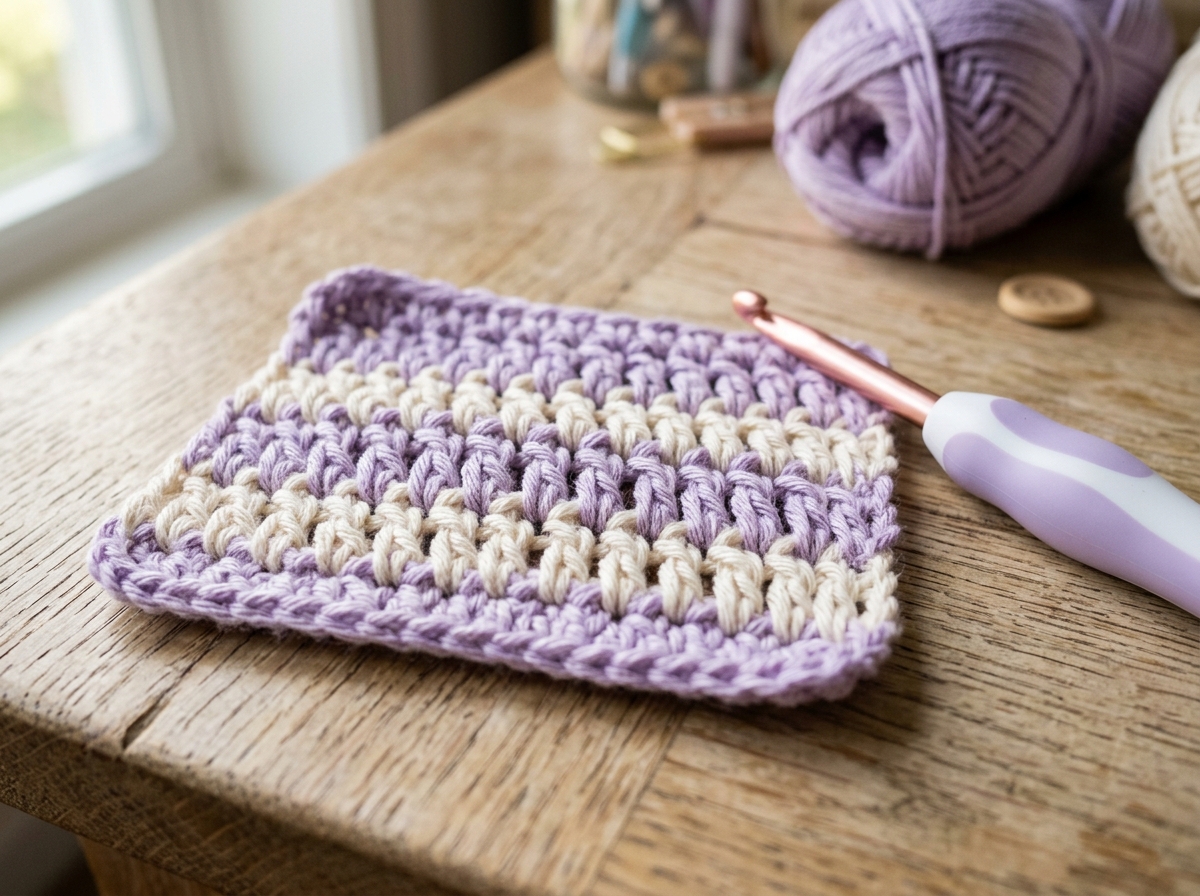
Master how to make the treble crochet stitch (tr) with our complete visual step-by-step tutorial! Learn triple crochet basics, turning chain rules (ch 4), US vs UK terms, and troubleshooting tips.
Direct answers to the most common questions absolute beginners ask before picking up their first hook.
The easiest way to learn crochet by yourself is to start with cooperative tools—a 5.0 mm (US H-8) ergonomic crochet hook and smooth, light-colored Weight #4 Worsted yarn—and follow a structured step-by-step progression: first master the slip knot and foundation chain (ch), then practice the 3 primary stitches (Single Crochet, Half Double Crochet, and Double Crochet) in flat 20-stitch rows before making a simple rectangular project like a mug rug coaster or ribbed scarf. You can get our 74-page "Stitch by Stitch" E-Book on Gumroad ($1.00) for the complete weekend roadmap.
You can learn the fundamental crochet movements—tying a slip knot, chaining, and making basic single and half double crochet stitches—in just 30 to 60 minutes. Within one weekend (about 3 to 5 hours of relaxed practice), most beginners build enough muscle memory and tension control to complete their first finished coaster and start a wearable scarf.
You only need 4 basic items to learn crochet: (1) One 5.0 mm (US H-8) ergonomic aluminum crochet hook with a soft rubber handle ($5–$8), (2) One skein of Weight #4 Medium/Worsted acrylic or cotton-blend yarn in a light solid color like cream, sage, or oatmeal, (3) Plastic locking stitch markers to mark your first and last stitches, and (4) A blunt tapestry needle and small scissors.
When a crochet rectangle slants inward into a triangle, it means you are accidentally skipping the very first stitch or the very last stitch at the end of each row. To fix this immediately, clip a plastic locking stitch marker into the top "V" of the very first stitch of every row—when you work back across the next row, that marker shows you the exact final stitch you must work into before turning.
US and UK crochet patterns use the exact same stitch names to describe different stitch heights! A US Single Crochet (sc) is called a Double Crochet (dc) in the UK. A US Half Double Crochet (hdc) is a UK Half Treble (htr), and a US Double Crochet (dc) is a UK Treble (tr). Always check whether a pattern uses US or UK terminology before starting so your project does not turn out twice as tall.
Most beginners find crochet significantly easier to learn first because you only manage one active loop on a single hook at a time. If you make a mistake in crochet, you can simply pull the working yarn ("frogging") to undo a single stitch and slip your hook right back in, whereas dropping a stitch in knitting requires rescuing multiple live loops across two needles.