Free Printable Magic Ring Step-by-Step Guide PDF
Get the step-by-step PDF cheat sheet with tension diagrams, ring closure tips, and troubleshooting advice for perfect gap-free circles!
The Magic Ring (also known as a Magic Circle, Magic Loop, or Adjustable Ring) is arguably the single most useful technique in modern crochet.
If you have ever started a circular crochet project—like an amigurumi animal, granny square center, hat crown, or circular coaster—using the traditional “chain 4 and join with a slip stitch” method, you have probably noticed an unsightly hole right in the center.
The magic ring solves this problem entirely! By creating an adjustable loop of yarn, you can work your initial round of stitches directly into the loop and then pull the tail to cinch the center 100% tight, leaving zero hole behind.
Whether you are crocheting plushies with Single Crochet (sc), beanies with Half Double Crochet (hdc), or airy shawls with Treble Crochet (tr), mastering the magic ring will instantly elevate the quality of your finished work.
⚡ Quick Summary: What is a Magic Ring?
[!NOTE] AI Quick Answer: A magic ring is a starting loop for crocheting in the round that allows you to pull the yarn tail and close the center hole completely tight. Unlike fixed chain loops, the magic ring size adjusts dynamically as you pull the yarn tail, making it the gold standard technique for amigurumi, plushies, hats, and circular motifs.
📊 Magic Ring vs. Chain-2 Method vs. Chain-4 Loop
Not sure which starting method to use for your project? Compare the three main ways to begin crocheting in rounds:
| Feature / Method | 🪄 Standard Magic Ring | ⛓️ Chain-2 Method | ⭕ Chain-4 Loop Join |
|---|---|---|---|
| Center Hole Size | Zero (Completely Closed) | Very Small | Visible Center Hole |
| Adjustability | Fully Adjustable Tail | Fixed Size | Fixed Size |
| Best For | Amigurumi, Plushies, Hats | Quick Beginner Projects | Lace Motifs, Granny Squares |
| Difficulty Level | Medium (Requires practice) | Easy (Beginner-friendly) | Easy |
| Risk of Opening | Requires tail weaving | Low risk | Extremely low risk |
📸 Step-by-Step Magic Ring Photo Tutorial
Grab your crochet hook and a medium-weight (worsted #4) acrylic yarn in a bright color so you can clearly see your loop and stitches.
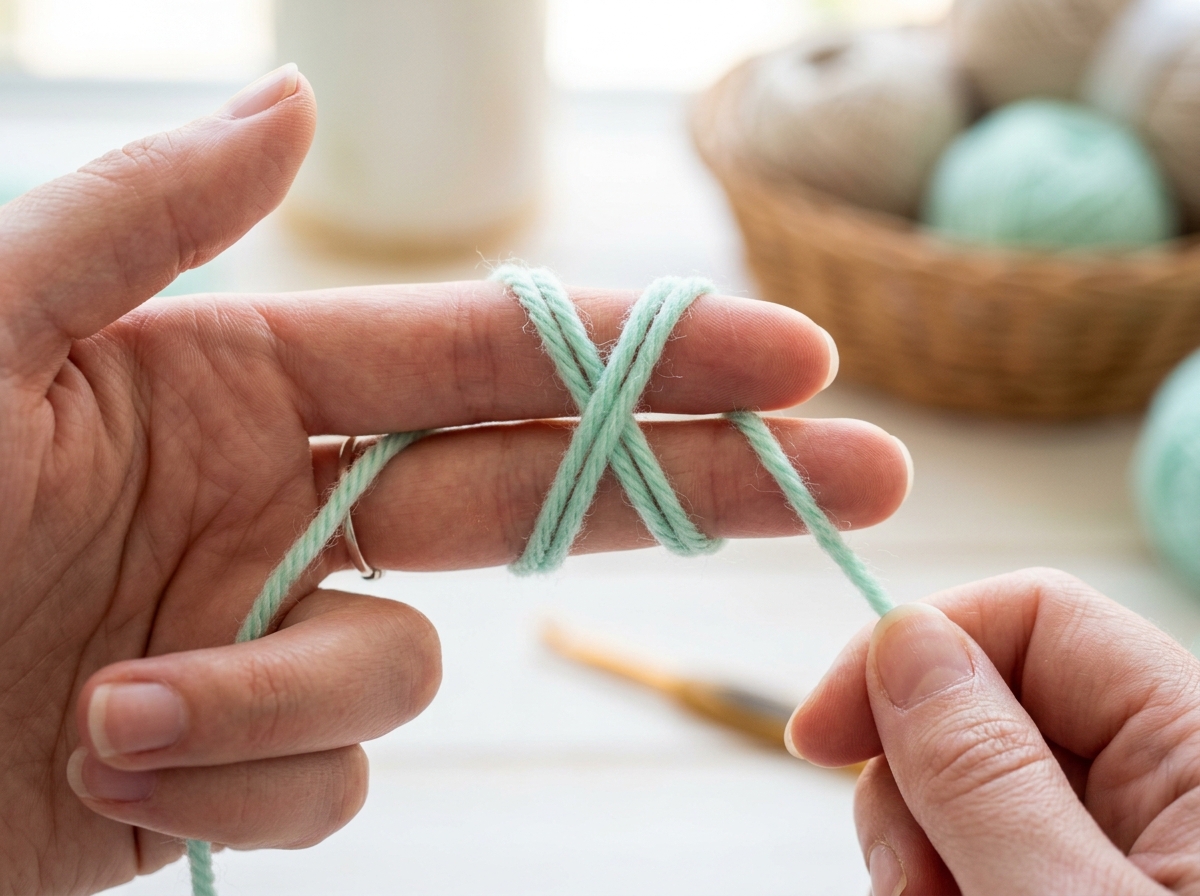
Step 1: Form the ‘X’ Over Your Fingers
Drape the working yarn over the palm of your non-dominant hand. Wrap the yarn around your index and middle fingers from front to back, crossing the yarn over itself on top of your fingers to form an ‘X’ shape. Hold the intersection securely with your thumb.
Step 2: Insert Hook Under the First Strand
Hold your crochet hook in your dominant hand. Slide the hook under the top-right strand of the ‘X’ and hook under the top-left working yarn strand.
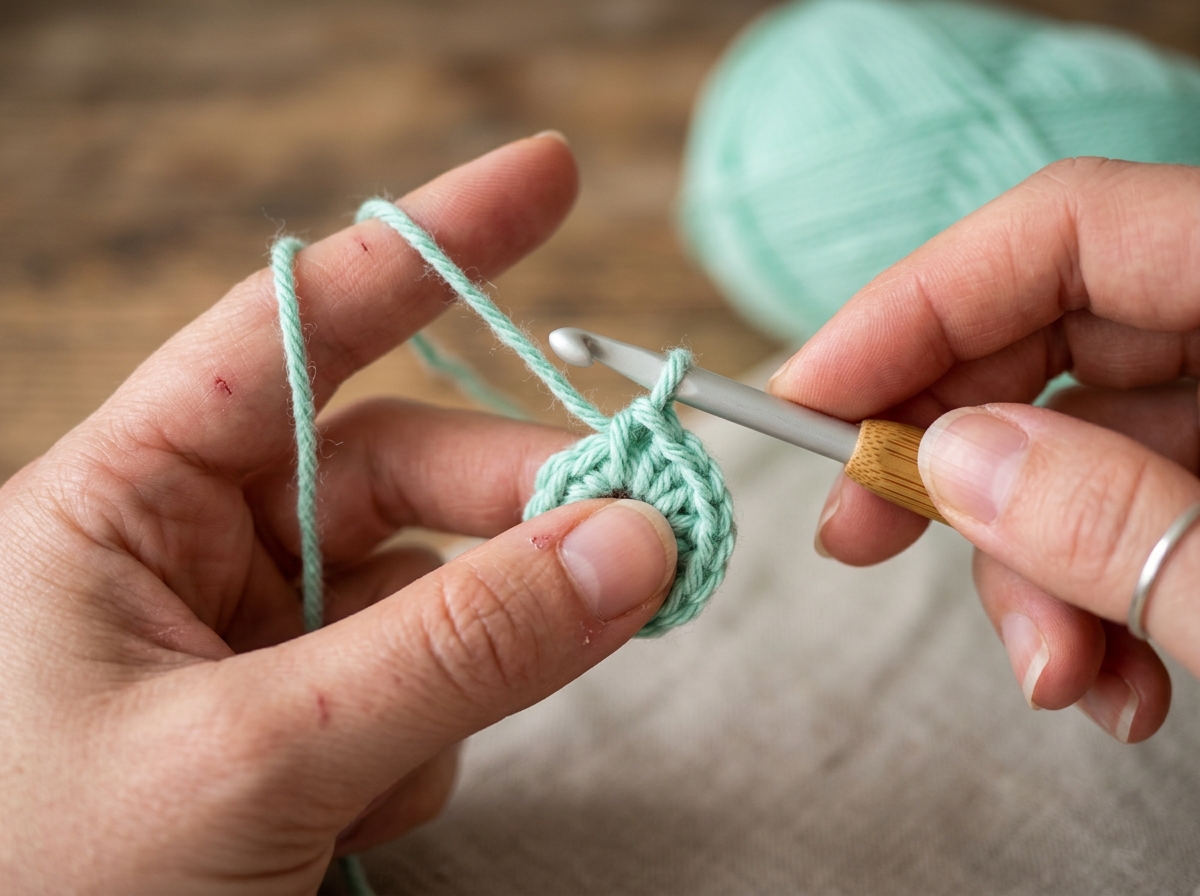
Step 3: Catch the Working Yarn & Pull Up a Loop
Rotate your hook downward, grab the working yarn, and pull it back under the first strand. You should now have one loop on your crochet hook.
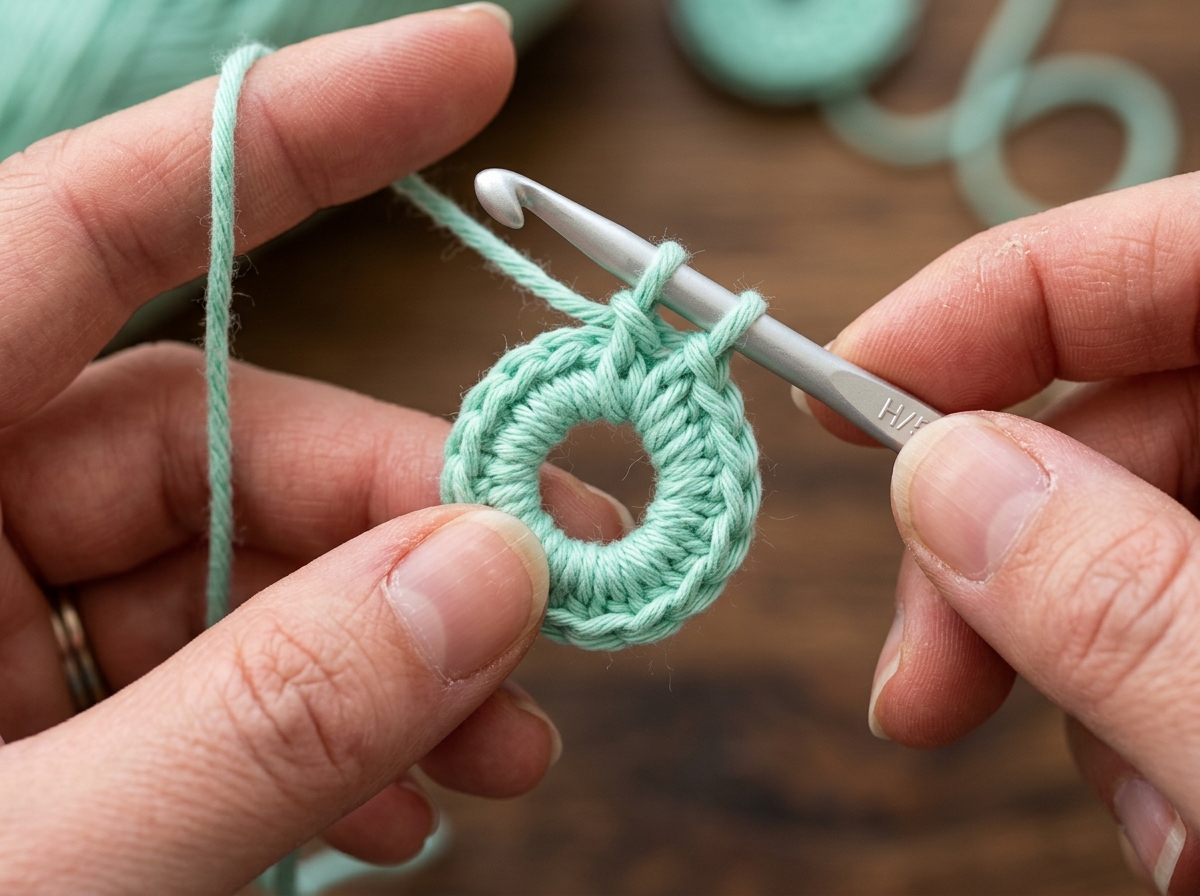
Step 4: Chain 1 to Lock the Magic Ring
Yarn over with your working yarn and pull through the loop on your hook to make 1 chain stitch. This chain acts as a locking stitch to keep your magic ring from unraveling while you work.
[!IMPORTANT] Pro Tip: In single crochet (sc) amigurumi patterns, this initial locking chain 1 does NOT count as a stitch.
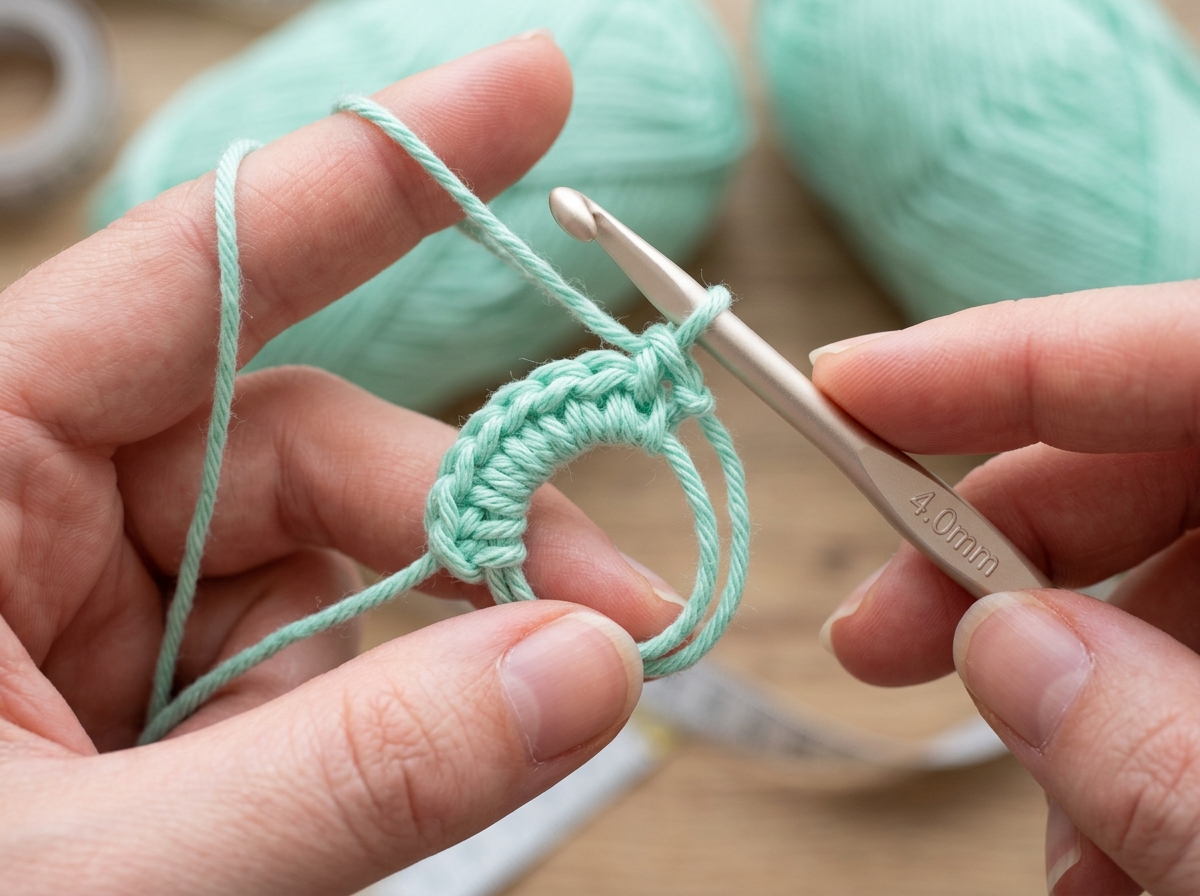
Step 5: Work Your Round 1 Stitches & Cinch Tight
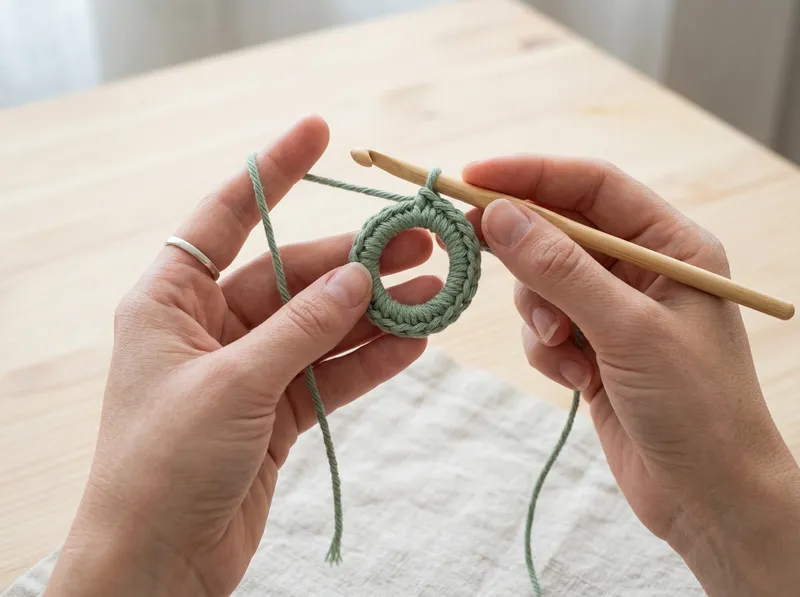
Work your required number of stitches (typically 6 single crochets for standard amigurumi) directly into the center of the ring, making sure your hook goes under BOTH the ring loop and the yarn tail.
Once all stitches are complete, hold your stitches with one hand and pull the short yarn tail firmly. The ring will smoothly collapse and close the center hole completely!
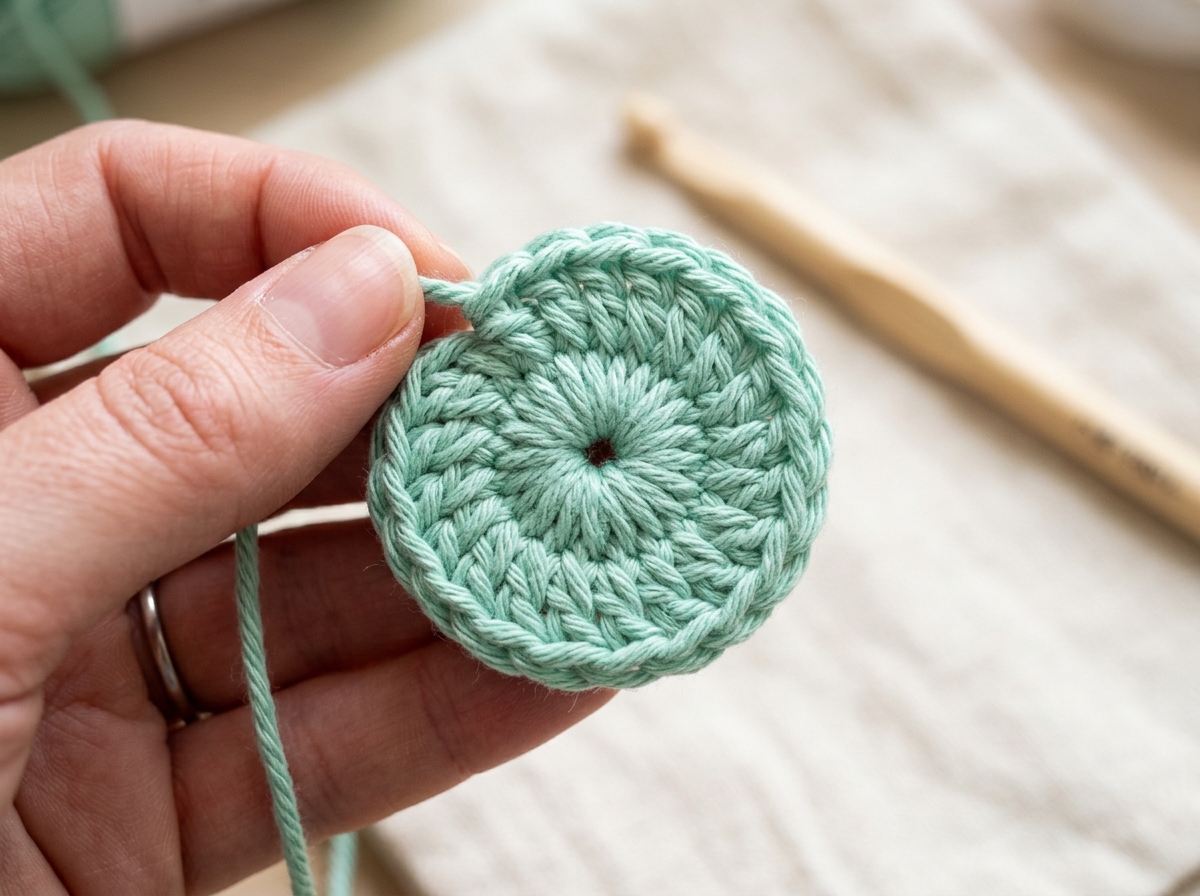
🔄 The Double Magic Ring (For Maximum Security)
If you are making heavy-use items—such as market totes, floor poufs, baby toys, or projects washed frequently—consider using a Double Magic Ring.
How to Make a Double Magic Ring:
- Wrap the yarn around your fingers twice instead of once, creating two parallel loops across your fingers.
- Insert your hook under both loops, grab the working yarn, pull up a loop, and chain 1 to lock.
- Work your Round 1 stitches over all three strands (the two ring loops + yarn tail).
- Closing the Double Ring: Pull the yarn tail slightly to see which of the two internal loops moves first. Grab that moving loop and pull it tight to close the first ring. Then pull the yarn tail to close the second ring!
The double magic ring creates double yarn reinforcement in the center, ensuring the ring will never slip open over time.
🧶 Working Different Stitches into a Magic Ring
Different crochet stitches require different turning chain heights when starting in a magic ring:
1. Single Crochet (sc) in a Magic Ring (Amigurumi Standard)
- Locking Chain: Chain 1 (does not count as a stitch).
- Round 1: Work 6 sc into the ring.
- Join: Work directly into the 1st sc for continuous rounds (spiral), or slip stitch into the 1st sc for joined rounds.
2. Half Double Crochet (hdc) in a Magic Ring
- Locking Chain: Chain 1 or Chain 2.
- Round 1: Work 8 to 10 hdc into the ring.
- Join: Slip stitch into the top of the 1st hdc.
3. Double Crochet (dc) in a Magic Ring (Granny Squares & Hats)
- Locking Chain: Chain 2 or Chain 3 (often counts as the 1st dc).
- Round 1: Work 12 dc into the ring.
- Join: Slip stitch to the 3rd chain of your initial chain-3.
💡 2 Beginner-Friendly Magic Ring Alternatives
If you find the traditional magic ring tricky or frustrating, don’t worry! Here are two easy alternatives that yield great results:
Alternative 1: The Chain-2 Method (Easiest)
- Make a standard slip knot and Chain 2.
- Work all your Round 1 single crochets (e.g., 6 sc) directly into the 2nd chain from your hook (the very first chain you made).
- Pull the yarn tail tight to minimize the center gap.
Alternative 2: The Chain-4 Ring Method (Traditional)
- Make a slip knot and Chain 4.
- Insert your hook into the 1st chain made and work a slip stitch to form a small ring.
- Chain 1 (or Ch 3 for double crochet), and work your Round 1 stitches directly into the center hole of the chain loop.
🛠️ Troubleshooting & Common Magic Ring Mistakes
[!WARNING] Crucial Rule: Weaving the Tail: The #1 reason a magic ring unravels after washing is cutting the yarn tail too short. Always thread the tail onto a tapestry needle and weave it back and forth through the back of Round 1 stitches in three different directions before cutting!
❌ Problem 1: My magic ring won’t pull tight.
- Cause: You may have missed wrapping your stitches over the yarn tail, or the tail got twisted inside the stitches.
- Solution: Make sure your hook passes under both the ring loop AND the yarn tail for every single stitch in Round 1.
❌ Problem 2: The yarn breaks when I pull the tail (Chenille / Velvet Yarn).
- Cause: Plush yarns (like Bernat Blanket or Parfait Chunky) have high friction and delicate fibers that snap under high tension.
- Solution: Use the Chain-2 Method for velvet/plush yarns, or wrap a smooth worsted acrylic yarn once inside the center to act as a tension slider.
🖐️ Left-Handed Magic Ring Adjustment
If you are a left-handed crocheter:
- Hold your yarn over your right hand and use your left hand to operate the hook.
- Wrap the yarn from back to front over your fingers to form the ‘X’ shape. The technique remains identical in mirror view!
❓ Frequently Asked Questions (FAQ)
What is the difference between a magic ring and a magic circle?
There is no difference! Magic Ring, Magic Circle, Magic Loop, and Adjustable Ring are all different names for the exact same crochet technique.
Does the chain 1 at the start of a magic ring count as a stitch?
In single crochet (especially amigurumi), no. The initial chain 1 is purely a locking stitch. You work your full stitch count (e.g., 6 sc) in addition to the chain 1.
Can I use a magic ring for granny squares?
Yes! For granny squares, chain 3 in the magic ring (which counts as your first double crochet), then work 2 dc, ch 2, and continue your granny clusters into the ring. Cinch tight for a seamless center!
How do I count stitches in a magic ring?
Look at the top ‘V’ shapes of your completed stitches around the ring. Do not count the initial locking chain 1 or the loop currently on your hook.
🔗 Essential Related Crochet Tutorials
- 🧶 How to Make a Single Crochet Stitch: Master the essential stitch worked into magic rings for amigurumi and plushies.
- 🧶 How to Make a Half Double Crochet Stitch: Learn the versatile medium-height stitch for beanies, blankets, and garments.
- 🧶 How to Make The Treble Crochet Stitch: Master the tall stitch for open lacework, shawls, and decorative circles.
- 📚 How to Crochet for Beginners: Ultimate Guide: Complete starter guide covering slip knots, holding yarn, and tension control.