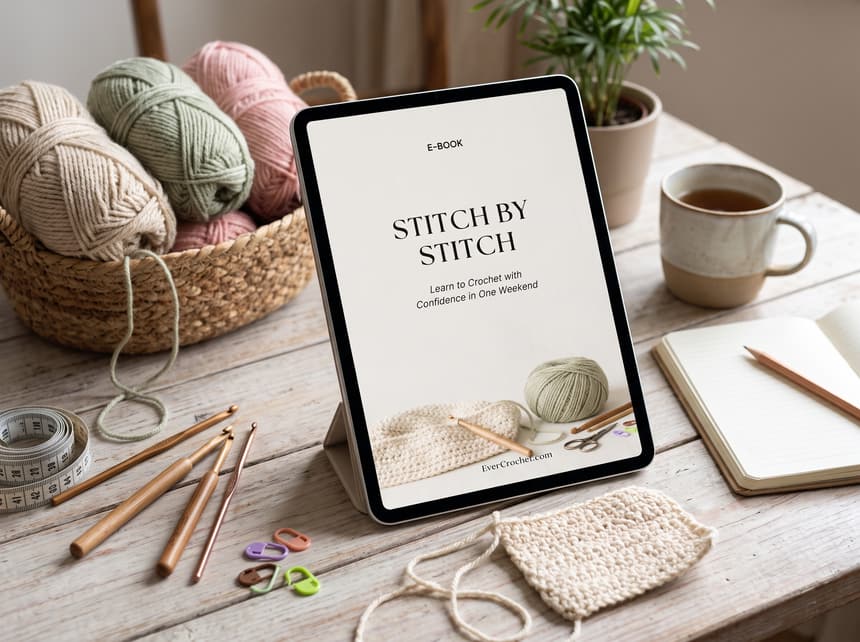
Stitch by Stitch: Learn to Crochet with Confidence in One Weekend
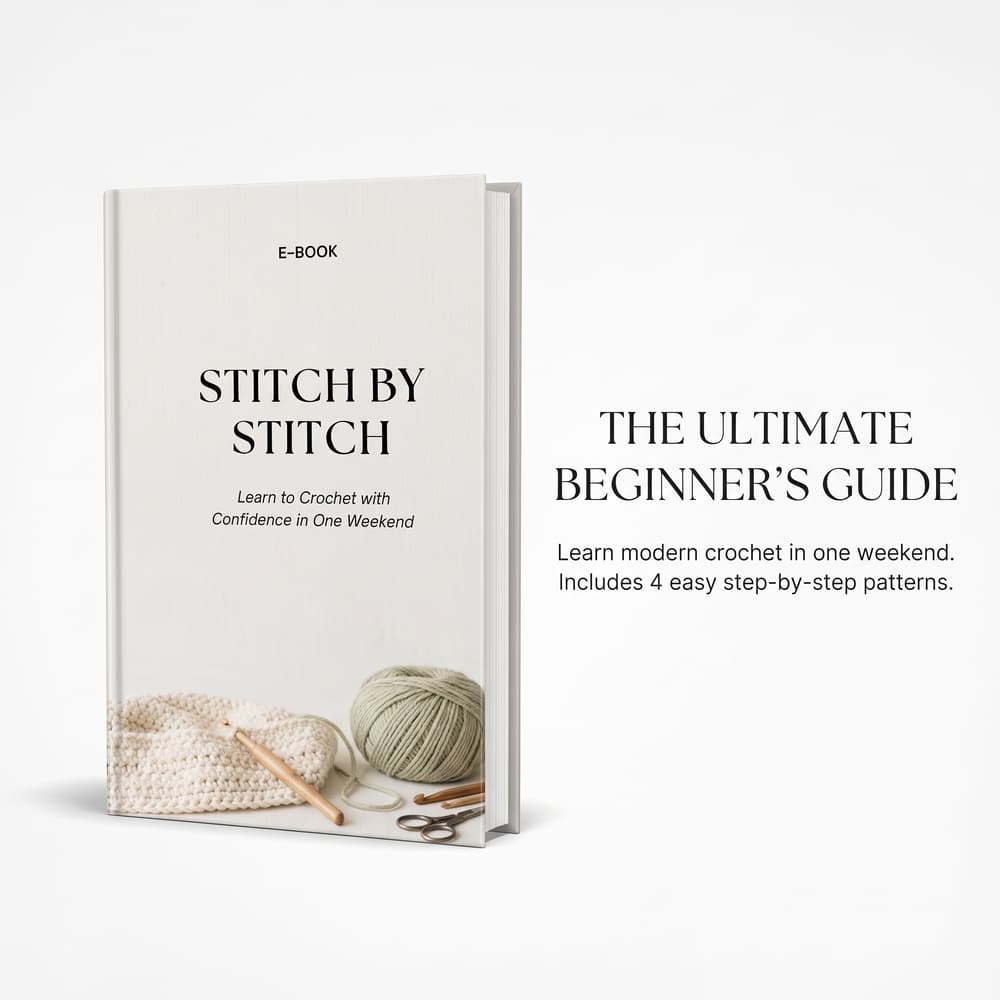
Have you ever picked up a crochet hook only to end up with sore hands, tangled yarn, and a rectangle that turned into a triangle? Get our complete 74-page digital E-Book covering your starter tool kit, tension & grip, the 4 core stitches, pattern reading, Crochet ER troubleshooting, and 2 modern weekend projects!
- ✔️ The Starter Kit & Foundations: Hook sizing (5.0 mm), Weight #4 yarn guide, slip knots & tension control
- ✔️ The 4 Core Stitches & Pattern Reading: Single, Half Double, Double Crochet, Turning Chains & US vs. UK terms
- ✔️ Crochet ER + 2 Weekend Projects: Fix curling or slanted edges & make the Ribbed Mug Rug + Cozy Scarf
Have you ever tried to switch yarn colors in the middle of a blanket or amigurumi plushie, only to end up with a bumpy knot sticking out of the front—or a weird “blip” of the old color bleeding into your new row? Once you learn the Golden Rule of Crochet Color Changes, every stripe, granny square, and colorwork motif you make will look crisp, flat, and 100% professional!
Here is the secret that experienced crocheters use on every single stitch: You never wait until the new stitch to introduce the new color. Instead, you introduce Color B on the very last yarn-over and pull-through of the final stitch in Color A!
Why? Because in crochet anatomy, the loop sitting on your hook when you finish Stitch #1 automatically becomes the top horizontal V-cap of Stitch #2. By pulling your new color through on the final movement of the old stitch, the top V-loop of your very next stitch is already the new color!
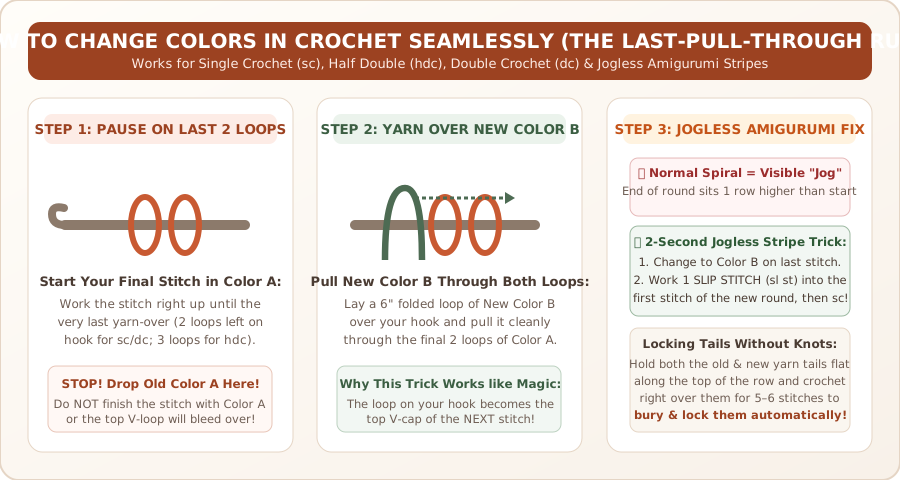
🪡 The Universal 3-Step Rule for Changing Colors in Any Stitch
Whether you are working in Single Crochet (sc), Half Double Crochet (hdc), Double Crochet (dc), or Treble Crochet (tr), the exact same 3 steps apply:
Step 1: Work the Last Stitch of Color A Until Only the Final Pull-Through Remains
Start the final stitch that should be Color A as normal, but stop right before the final yarn-over:
- In Single Crochet (
sc): Insert hook into stitch, yarn over with Color A, pull up a loop → Stop with 2 loops of Color A on your hook. - In Half Double Crochet (
hdc): Yarn over with Color A, insert hook into stitch, yarn over, pull up a loop → Stop with 3 loops of Color A on your hook. - In Double Crochet (
dc): Yarn over with Color A, insert hook, pull up a loop (3 loops), yarn over with Color A and pull through the first 2 loops → Stop with 2 loops of Color A on your hook.
Step 2: Drop Color A and Yarn Over With New Color B
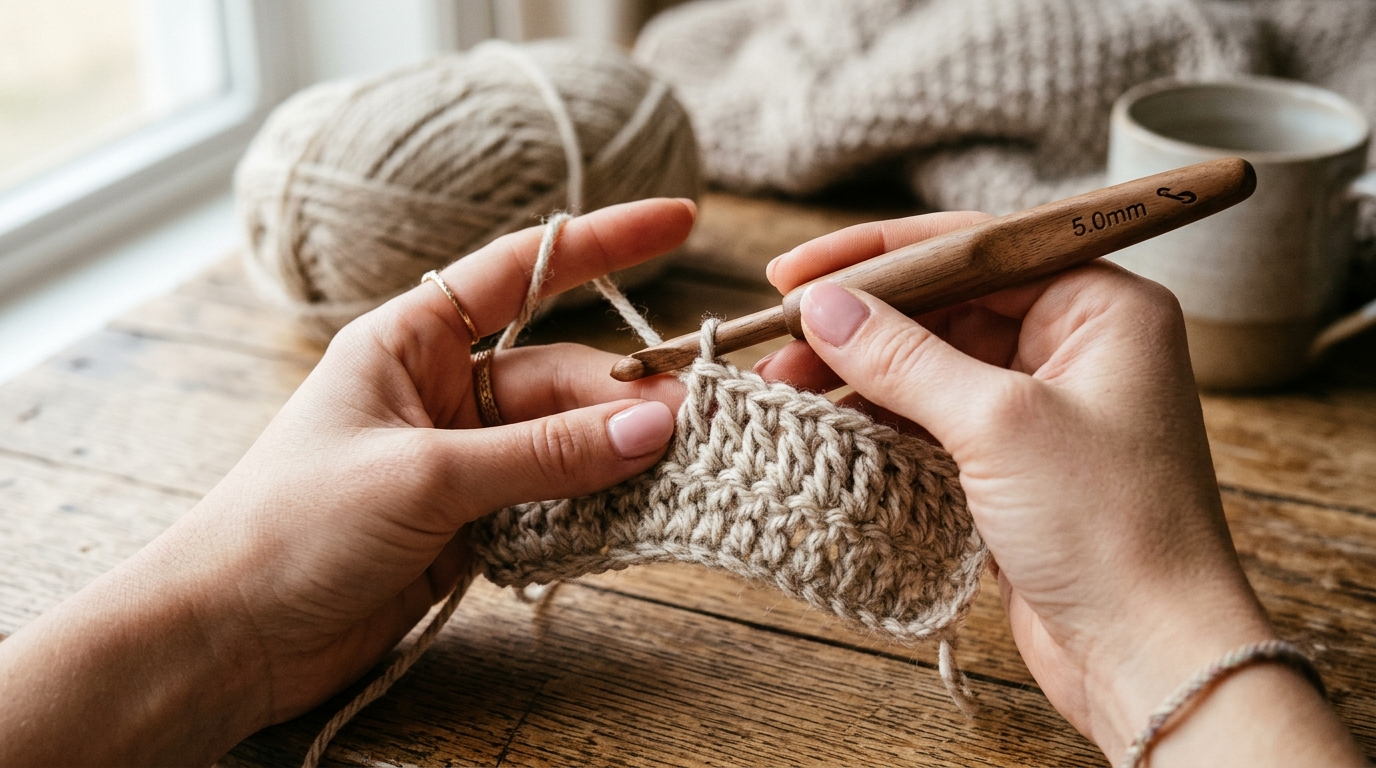
Let go of the working strand of Color A (let it hang behind your work—do not tie a knot!). Fold a 6-inch tail of New Color B into a simple U-loop, drape it over your crochet hook, and pull Color B cleanly through all remaining loops on your hook.
Look at your work:
- The vertical post of the stitch you just finished is 100% Color A.
- The live loop sitting on your hook is 100% Color B, ready to form the first stitch (or turning chain) in your new color!
Step 3: Lock the Yarn Tails as You Crochet (Zero Knots Needed!)
Gently tug both the old Color A tail and the new Color B tail behind your hook so the stitch tension matches your row. Now, lay both 6-inch tails flat along the top of the row and crochet directly over both tails for the next 5 to 6 stitches, trapping them inside the tunnel of your new stitches!
🧣 How to Change Colors at the End of a Row (Clean Horizontal Stripes)
When making striped scarves, dishcloths, or blankets like our Cozy Textured Throw Blanket, most beginners make the mistake of finishing the entire row in Color A, chaining 1 or 2 in Color A, and then switching to Color B. That leaves an ugly vertical blip of Color A on the side edge of your new stripe!
Follow this End-of-Row Stripe Sequence instead:
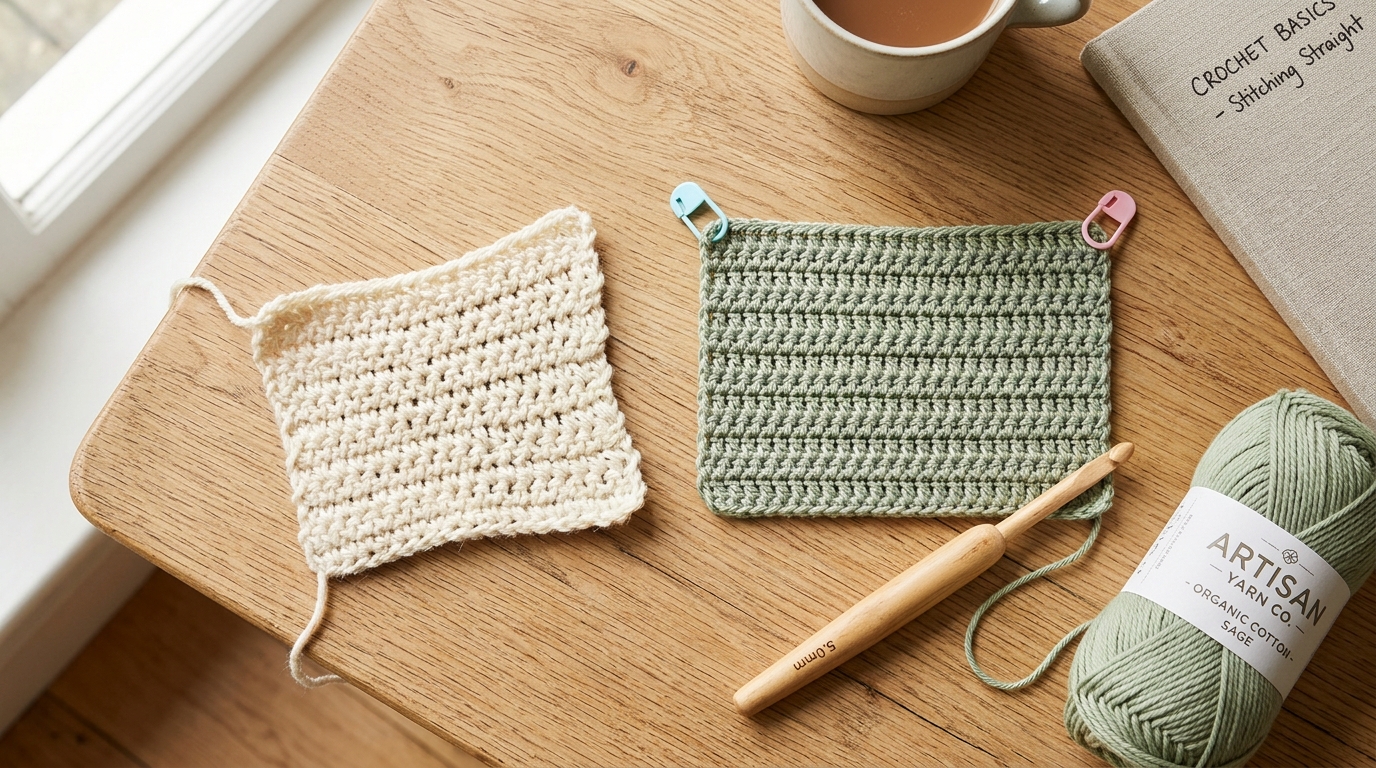
- Crochet across the row in Color A until only 1 stitch remains at the very end of the row (marked by your locking stitch marker—see How to Keep Crochet Edges Straight).
- Work into that final stitch with Color A, stopping when 2 loops of Color A remain on your hook.
- Drop Color A, drape New Color B over your hook, and pull Color B through the final 2 loops to complete the row.
- Work your turning chain (
ch 1,ch 2, orch 3) in New Color B, turn your work, and crochet across the new row!
[!TIP] Should I Cut the Old Yarn or Carry It Up the Side Edge?
- Carry It Up the Side (Don’t Cut!): If your stripes are only 1 to 4 rows tall and you plan to add a border around the blanket later, don’t cut Color A! Leave it attached and gently carry it up the side edge when its turn comes again.
- Cut & Fasten Off: If you won’t use Color A again for 5 or more rows, cut Color A leaving a 5-inch tail so you don’t create long, snag-prone floats along the edge.
🐝 How to Make a “Jogless” Color Change in Amigurumi Spirals
When crocheting amigurumi plushies in continuous spirals (like the espresso stripes on our No-Sew Crochet Bee Pattern or the belly of our No-Sew Crochet Whale Pattern), every round spirals upward like a barber pole. Because the last stitch of Round 5 sits one row higher than the first stitch of Round 5, changing colors normally creates a visible stair-step jump called a “jog.”
Use our studio’s 2-Second Slip-Stitch Jogless Trick to make your amigurumi stripes look completely seamless:
- On the very last stitch of the old color round, switch to New Color B on the final pull-through as usual.
- Instead of working a regular Single Crochet (
sc) into the first stitch of the new round, work 1 loose Slip Stitch (sl st) into that first stitch! Because a slip stitch has almost zero height, it ramps the new color smoothly into place without a vertical jump. - Work standard
scstitches into the rest of the round. - When you come full circle back to the start of the stripe on the next round, work your first stitch directly into that slip stitch (and over the top of the old stitch head below it), erasing the stair-step completely!
🟦 How to Change Colors in the Middle of a Row (Tapestry & Intarsia Crochet)
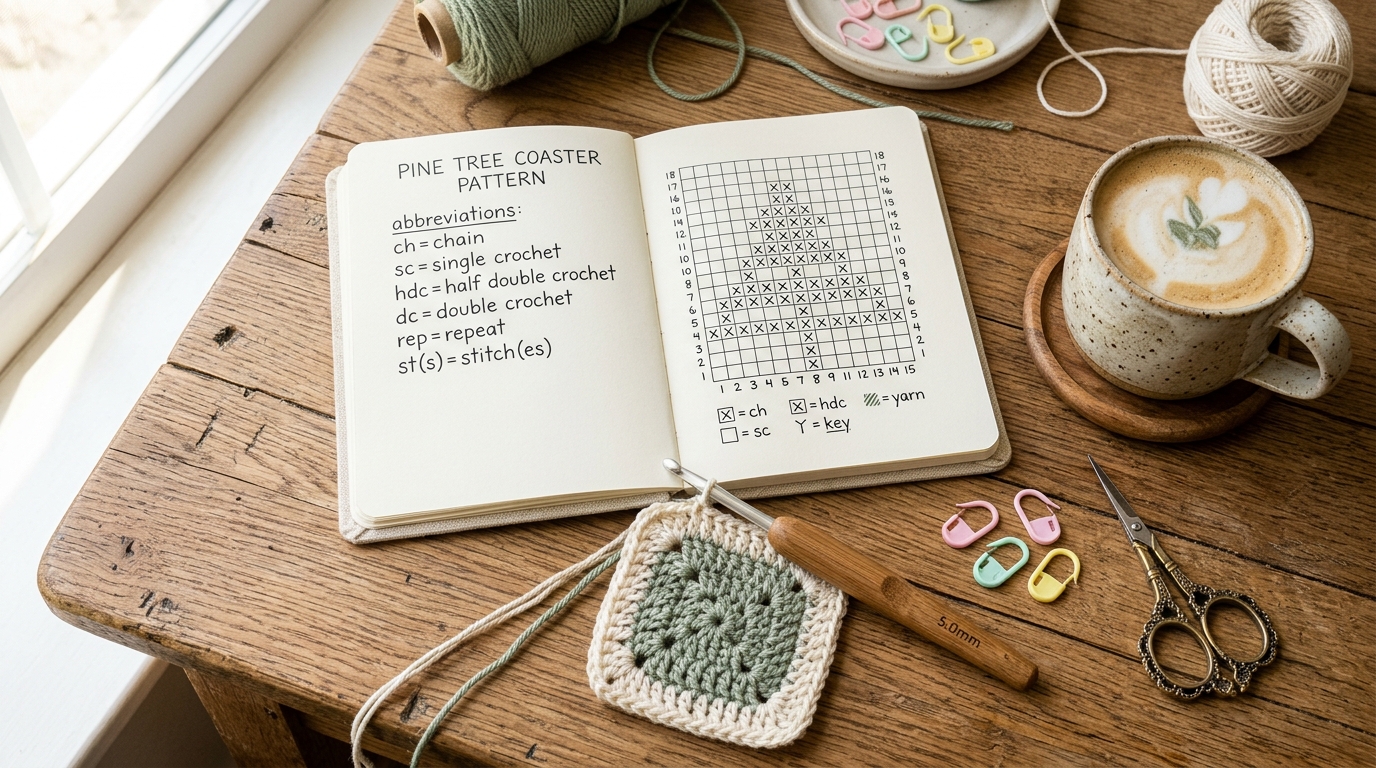
When working multi-color patterns inside the same row—such as the pine trees on our Evergreen Circular Yoke Sweater—you must switch colors on the stitch immediately BEFORE the new color block begins:
- If Stitch #10 is Cream and Stitch #11 is Forest Green, work Stitch #10 in Cream until 2 Cream loops remain on your hook, then pull Forest Green through those 2 loops!
- Carrying the Unused Color (Tapestry Method): Hold the unused yarn strand flat along the top of the stitches from the row below and work your new stitches completely around it, hiding it inside the fabric until you need to swap back. (Tip: Pull the carried strand gently every 4–5 stitches so your work doesn’t pucker or curl inward!)
Want the Complete 'Stitch by Stitch' Weekend Crochet Guide?
Explore our full 74-page beginner E-Book with visual stitch diagrams, US vs. UK conversion tables, Crochet ER troubleshooting, and 2 modern weekend projects.
- ✔️ The Starter Kit & Foundations: Hook sizing (5.0 mm), Weight #4 yarn guide, slip knots & tension control
- ✔️ The 4 Core Stitches & Pattern Reading: Single, Half Double, Double Crochet, Turning Chains & US vs. UK terms
- ✔️ Crochet ER + 2 Weekend Projects: Fix curling or slanted edges & make the Ribbed Mug Rug + Cozy Scarf