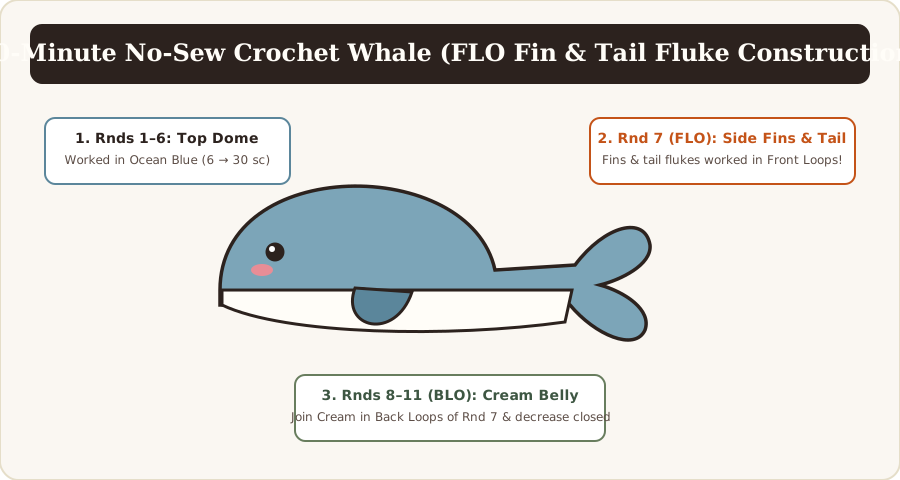
Looking for a 30-minute project that uses less than 30 yards of leftover yarn and requires zero sewing? This free no-sew crochet whale pattern shapes the side flippers and double tail flukes directly in the Front Loops of Round 7, then switches to the Back Loops to form the ribbed cream belly in one seamless piece!
If you have ever finished crocheting a cute amigurumi body only to let the unattached fins sit in a drawer for weeks because you dreaded sewing them on symmetrically, this pattern will be your new favorite obsession.
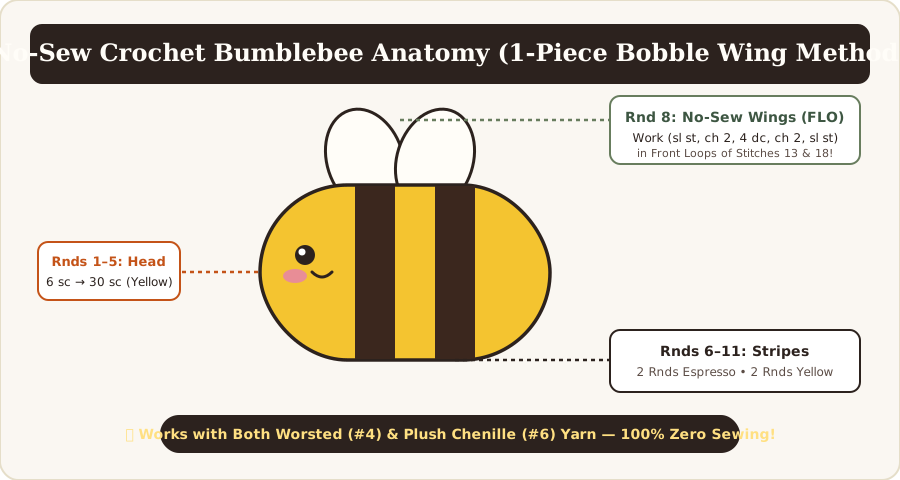
Just like our reader-favorite No-Sew Crochet Bee Pattern, our no-sew crochet whale relies on smart loop splitting (FLO vs. BLO) so the side fins and tail sprout organically out of the waistline. Better yet, leaving the Front Loops exposed along the non-fin stitches creates a crisp, realistic waterline ridge separating the ocean-blue back from the cream-colored belly!
📋 Whale Size & Yarn Weight Cheat Sheet
You can crochet this exact 11-round whale in any yarn weight from fine cotton thread up to jumbo blanket chenille. Here is what each yarn weight produces:
| Whale Style | Yarn Weight & Fiber | Hook Size | Safety Eyes | Finished Length (Nose to Tail) | Yardage Needed |
|---|---|---|---|---|---|
| Pocket Keychain Whale | #3 DK or #4 Worsted Cotton | 3.5 mm (E-4) | 8 mm | 3.5 in long × 2.0 in tall | ~20 yds Blue + 8 yds Cream |
| Classic Amigurumi Whale | #4 Worsted Acrylic | 4.0 mm (G-6) | 9 mm – 10 mm | 4.25 in long × 2.5 in tall | ~24 yds Blue + 10 yds Cream |
| Squishy Plush Whale | #6 Super Bulky Chenille | 5.5 mm – 6.0 mm | 14 mm | 6.5 in long × 4.0 in tall | ~32 yds Blue + 14 yds Cream |
🧶 Materials & Tools Needed
- Yarn:
- Color A — Dusty Ocean Blue, Sage Teal, or Lavender (Upper Body, Fins & Tail): ~24 yards (#4) or ~32 yards (#6 Chenille)
- Color B — Warm Cream / Ivory (Belly Base): ~10 yards (#4) or ~14 yards (#6 Chenille)
- Crochet Hook:
3.5 mm(Worsted Cotton),4.0 mm(Worsted Acrylic), or5.5 mm / 6.0 mm(Super Bulky Chenille) - Safety Eyes: 1 pair (8 mm–10 mm for Worsted; 14 mm for Chenille)
- Stuffing: Small handful of polyester fiberfill
- Notions: 1 locking stitch marker, tapestry needle, and scissors
🔤 Abbreviations & Stitches Used (US Terms)
- MR: Magic Ring
- ch: Chain
- sl st: Slip stitch
- sc: Single crochet
- hdc: Half double crochet
- dc: Double crochet
- inc: Single crochet increase (2 sc in same stitch)
- inv-dec: Invisible decrease (sc2tog through front loops only)
- FLO: Front Loop Only
- BLO: Back Loop Only
🐋 Step-by-Step No-Sew Crochet Whale Instructions
Pattern Note: Rounds 1–7 are worked in continuous spirals from the top crown of the head downward using Color A (Ocean Blue).
Phase 1: The Rounded Ocean-Blue Dome (Rounds 1 – 6)
Start with Color A (Ocean Blue).
- Round 1: Work 6 sc into a magic ring (or
Ch 2and work 6 sc in 2nd ch from hook for chenille yarn). Pull tight. (6 sts). - Round 2: Work
*inc*(2 sc) in each stitch around. (12 sts). - Round 3: Repeat
*1 sc in next st, inc in next st*6 times around. (18 sts). - Round 4: Repeat
*1 sc in next 2 sts, inc in next st*6 times around. (24 sts). - Round 5: Repeat
*1 sc in next 3 sts, inc in next st*6 times around. (30 sts). - Round 6: Work 1 sc in each stitch around for 1 even round to build dome height. (30 sts).
- Want a chubbier, taller whale? Work one extra even round of
30 schere before moving to the fin round!
- Want a chubbier, taller whale? Work one extra even round of
Phase 2: The Magic No-Sew Fin & Tail Fluke Round (Round 7 — Worked in FLO!)
In Round 7, every single stitch is worked into the Front Loop Only (FLO)! This leaves all 30 Back Loops (BLO) untouched on the inside rim of the whale so we can attach our Cream belly yarn in Round 8.
Follow this exact stitch-by-stitch sequence around the 30 Front Loops of Round 7:
- Right Side Flipper:
- Work 1 sl st in FLO of each of the first 5 stitches.
- In the 6th Front Loop, work
(ch 4, work 1 hdc in 2nd ch from hook, 1 dc in next ch, 1 dc in last ch, then sl st back into that same 6th Front Loop)! (Right Side Fin complete!)
- Front Nose Curve (Between the Flippers):
- Work 1 sl st in FLO of each of the next 12 stitches (Stitches 7 through 18 — this forms the smooth front snout ridge where the eyes will sit above!).
- Left Side Flipper:
- In the 19th Front Loop, work
(ch 4, work 1 hdc in 2nd ch from hook, 1 dc in next ch, 1 dc in last ch, then sl st back into that same 19th Front Loop)! (Left Side Fin complete!)
- In the 19th Front Loop, work
- Back Body to Tail Base:
- Work 1 sl st in FLO of each of the next 5 stitches (Stitches 20 through 24).
- The Arched Tail & Double Tail Flukes (Stitches 25 to 30):
- In the 25th Front Loop, work 1 sl st, then Chain 7 (forms the base of the tail!).
- First Tail Fluke: Starting in the 2nd chain from your hook, work 1 sc in next ch, 1 hdc in next ch, 1 sc in next ch, and 1 sl st in the 4th chain (leaves 2 chains unworked at the base of the tail stem).
- Second Tail Fluke: Without moving down the stem yet, Chain 5! Starting in the 2nd chain from your hook, work 1 sc in next ch, 1 hdc in next ch, 1 sc in next ch, and 1 sl st into the same 4th chain of the main stem where the first fluke ended!
- Closing the Tail Stem: Now work 1 sc into each of the remaining 2 chains down the main tail stem, and anchor with a slip stitch into the 26th Front Loop of the body!
- Work 1 sl st in FLO of each of the final 4 stitches (Stitches 27, 28, 29, and 30).
- Fasten off Color A (Ocean Blue) and weave its tail inside the body!
Phase 3: Eyes & The Ribbed Cream Belly (Rounds 8 – 11)
Insert Your Safety Eyes Now!
- Look at the front nose curve (centered between the Right and Left side flippers).
- Insert your Safety Eyes between Rounds 5 and 6, spaced 8 stitches apart across the front of the head (about 2 stitches forward from each side flipper). Snap the washers on tightly.
Now flip your whale upside down so you are looking at the 30 unworked Back Loops (BLO) waiting inside Round 6/7:
- Round 8 (Joining the Cream Belly):
- Attach Color B (Warm Cream) with a
sl stinto the first unworked Back Loop at the rear under-tail. - Chain 1, and work 1 sc into each of the 30 unworked Back Loops all the way around the belly perimeter! (30 sc).
- Attach Color B (Warm Cream) with a
- Round 9: Repeat
*1 sc in next 3 sts, inv-dec over next 2 sts*6 times around. (24 sts). - Round 10: Repeat
*1 sc in next 2 sts, inv-dec over next 2 sts*6 times around. (18 sts).- Stuff your whale now! Push polyfill firmly into the upper blue dome so the top of the head puffs up while keeping the bottom cream belly relatively flat so the whale sits upright on a table without rolling!
- Round 11: Repeat
*1 sc in next st, inv-dec over next 2 sts*6 times around. (12 sts). - Round 12: Work 6
inv-decaround. (6 sts). - Cut Color B leaving an 8-inch tail. Thread onto your tapestry needle, weave through the Front Loops Only of the final 6 stitches, pull snug to close the belly flat, and bury the tail inside!
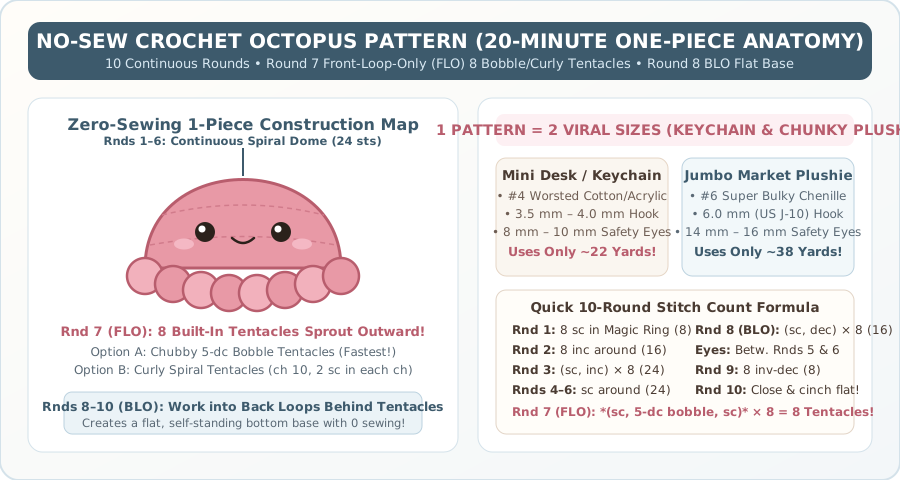
🐙 Bonus Variation: How to Turn This Pattern Into a No-Sew Mini Octopus!
Want to make a matching No-Sew Pocket Octopus using the exact same top dome?
- Work Rounds 1 – 6 in Coral Pink or Mint Green (
30 sts). - In Round 7 (Working in FLO): Instead of making side fins and a tail, create 8 curly tentacles around the Front Loops by repeating:
*[In next FLO: Ch 9, work 2 sc in 2nd ch from hook and 2 sc in each of the next 7 chs back down to the body, sl st in same FLO], then sl st in next 2 FLO*8 times around!
- Work Rounds 8 – 12 in the unworked Back Loops to close the bottom of the octopus!
❓ Frequently Asked Questions
Why is my whale’s tail curling downward?
When working the Ch 7 and Ch 5 for the tail flukes in Round 7, tight foundation chains will cause the flukes to curl. Relax your tension slightly on the tail chains, and gently pinch and flatten the two flukes with your fingers (or a quick 2-second burst of steam from an iron held 3 inches away) once finished!
How do I make the classic ribbed lines on a whale’s belly?
Notice how our Round 7 slip stitches in the Front Loops already create a raised horizontal ridge all the way around the belly! If you want vertical throat grooves as well, thread a 15-inch strand of Ocean Blue yarn onto your needle and stitch 3 long surface lines from the front nose lip back toward the center of the cream belly.
🔗 Essential Related Amigurumi & Stitch Guides
- 🐝 No-Sew Crochet Bumblebee Pattern (Free 25-Min Tutorial): Pair your whale with our #1 beginner no-sew bumblebee!
- 🐼 Cute Crochet Panda Amigurumi Pattern: Ready for two-tone color changes in classic amigurumi? Make our cuddly panda.
- 💰 15 Best Crochet Projects That Sell at Craft Fairs: See how to price and display mini whales and bees at weekend markets.
- 🧶 How to Make a Half Double Crochet Stitch: Master the shaping stitch used inside the whale’s fins and tail flukes.