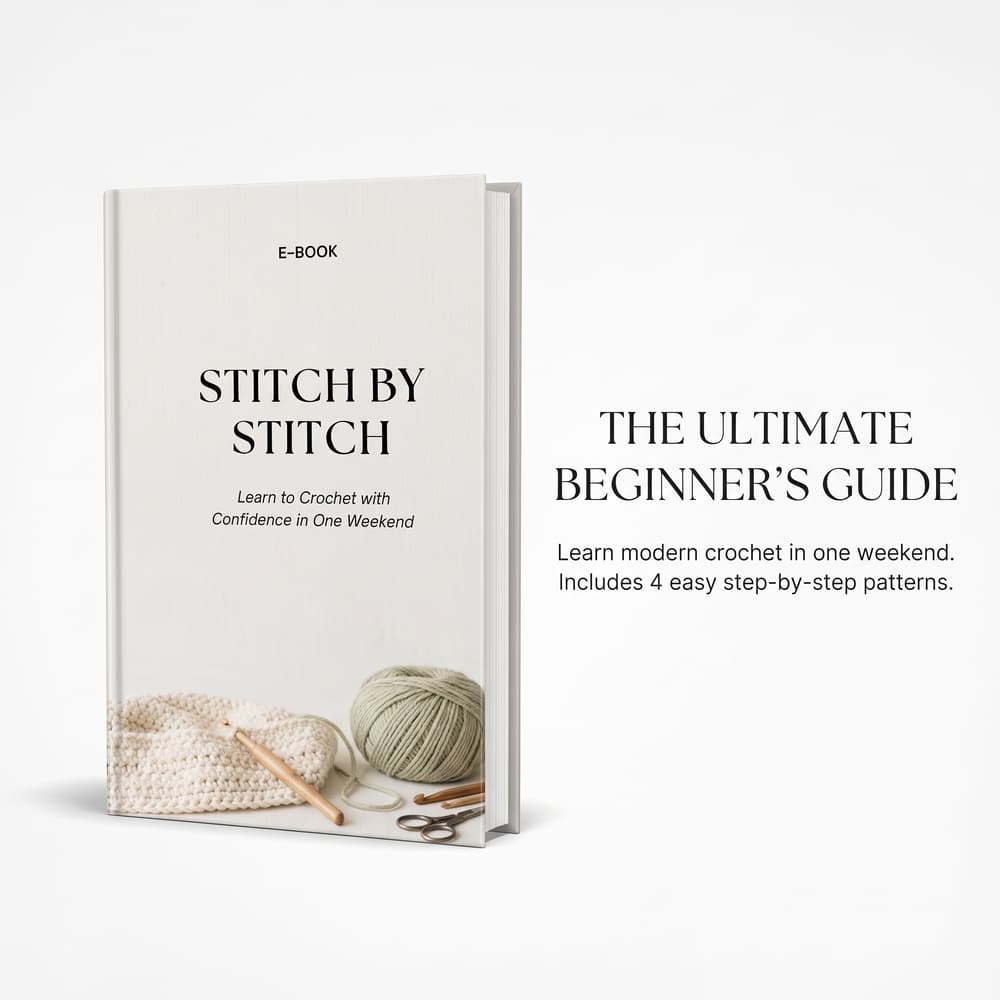
Stitch by Stitch: Learn to Crochet with Confidence in One Weekend
Have you ever picked up a crochet hook only to end up with sore hands, tangled yarn, and a rectangle that turned into a triangle? Get our complete 74-page digital E-Book covering your starter tool kit, tension & grip, the 4 core stitches, pattern reading, Crochet ER troubleshooting, and 2 modern weekend projects!
- ✔️ The Starter Kit & Foundations: Hook sizing (5.0 mm), Weight #4 yarn guide, slip knots & tension control
- ✔️ The 4 Core Stitches & Pattern Reading: Single, Half Double, Double Crochet, Turning Chains & US vs. UK terms
- ✔️ Crochet ER + 2 Weekend Projects: Fix curling or slanted edges & make the Ribbed Mug Rug + Cozy Scarf
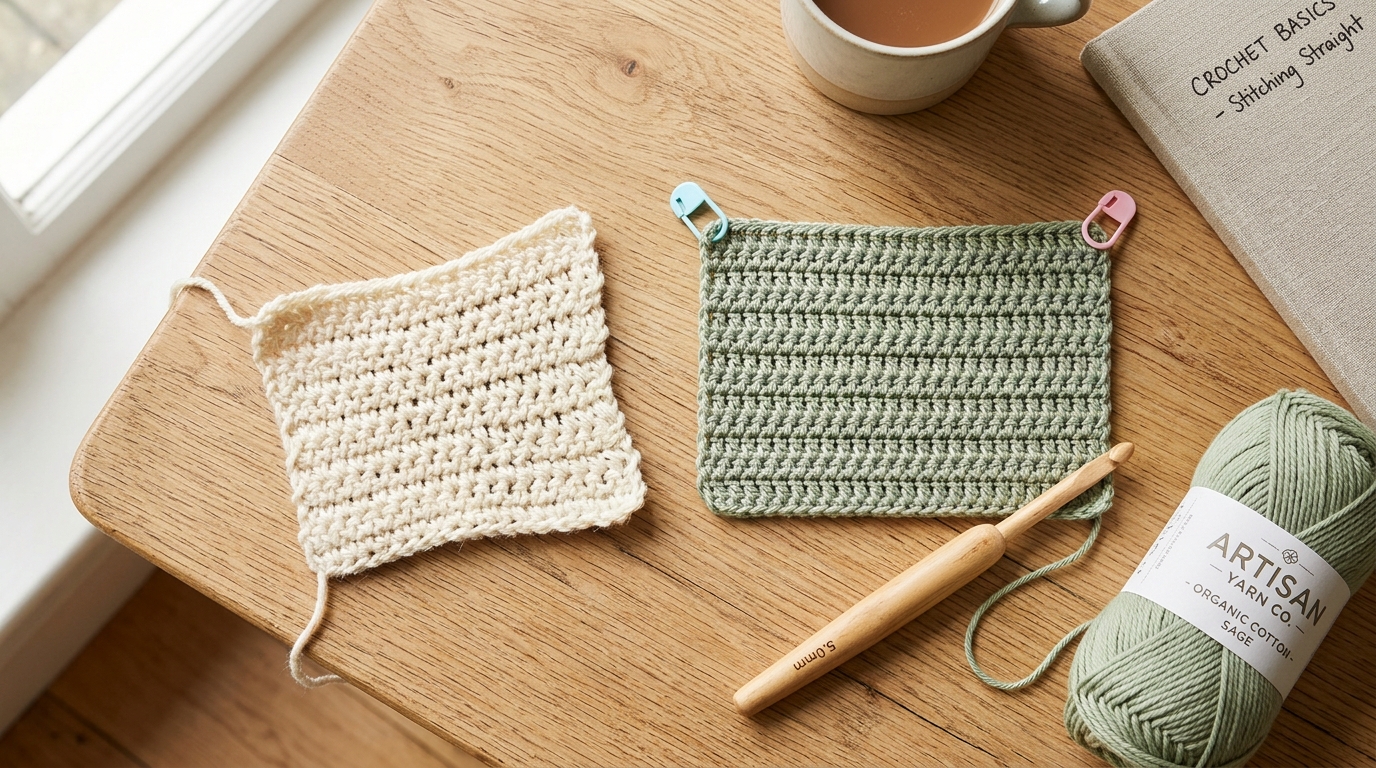
Have you ever sat down to crochet a simple rectangular scarf, dishcloth, or baby blanket—only to hold it up twenty minutes later and realize your rectangle is mysteriously morphing into a lopsided triangle, an hourglass, or a zig-zagging trapezoid?
Take a deep breath: you are not bad at crochet! In fact, crooked, slanting, or bumpy row edges are the #1 rite of passage that every single crocheter experiences during their first few weeks with a hook.
In this complete troubleshooting guide, we will show you exactly why your crochet edges are crooked, how to keep crochet edges straight on every single project, how to count crochet stitches without second-guessing yourself, and the foolproof 2-Stitch-Marker Trick used by professional designers.
✨ Want Our Printable “Crochet ER” Troubleshooting Guide? Everything in this tutorial—plus visual diagrams of stitch anatomy, turning chain cheat sheets, and 2 beginner weekend projects—is included inside Chapter 5 (“Crochet ER”) of our 74-Page “Stitch by Stitch” Beginner E-Book ($1.00 Special Offer)!
⚡ Quick Answer: How to Keep Crochet Edges Straight
[!NOTE] The 3 Golden Rules for Ruler-Straight Crochet Edges:
- Clip a Locking Stitch Marker into Stitch #1 of Every Row: As soon as you complete the very first stitch of a new row, slip a plastic locking stitch marker under both top
"V"loops. When you crochet back across the next row, that marker shows you the exact final stitch you must work into before turning!- Follow the Turning Chain Rule for Your Stitch: Know whether your turning chain (
ch 1,ch 2, orch 3) counts as a stitch or not—because working into both the first stitch and the turning chain adds an extra stitch every row.- Turn Your Work in the Same Direction Every Row: Always flip your work like turning the page of a book (counter-clockwise) and chain before or after turning consistently to keep the side edges smooth and uniform.
🔍 Diagnose Your Swatch: Why Are My Crochet Edges Crooked?
Before you can fix crooked crochet edges, you need to know what your fabric is telling you. Look closely at your project and match it to one of the 4 common beginner edge problems below:
| What Your Project Looks Like | What Is Actually Happening | The Exact Cause |
|---|---|---|
| 1. Shrinking into a Triangle / Pyramid | Your row is losing 1–2 stitches every row | You are accidentally skipping the very last stitch of the row (because it hides on the side edge). |
| 2. Expanding / Flaring Outward Like a Fan | Your row is gaining 1–2 stitches every row | You are working into the very first stitch AND also working into the turning chain at the end of the row. |
| 3. Wavy Hourglass (Narrow, Then Wide) | Your stitch count goes up and down randomly | You are crocheting without counting stitches or marking your row ends, guessing where the row stops. |
| 4. Stitch Count Is Right, But Edges Look Bumpy | You have the exact same number of stitches per row, yet the sides have loops sticking out | Your turning chains are too loose, or you are flipping your work in different directions at the end of each row. |
🚨 Mistake #1: Skipping the Last Stitch (Why Your Rectangle Turns Into a Triangle)
By far the most common reason beginners search “why is my crochet getting smaller” is that the final stitch of a crochet row loves to play hide-and-seek!
When you reach the end of a row in Single Crochet (sc) or Half Double Crochet (hdc), the top "V" of the very last stitch naturally tilts slightly away from you toward the back or side edge of the fabric. Because it doesn’t sit flat on top like the middle stitches, your eyes tell you, “Okay, I’m at the end of the row—time to chain and turn!”
If you start with 20 stitches and accidentally skip that tilted final stitch on every row:
- Row 1: 20 stitches
- Row 2: 19 stitches
- Row 3: 18 stitches
- Row 10: 11 stitches (Your scarf is now half its original width!)
✅ The Permanent Fix: The 2-Stitch-Marker Trick
Never rely on your eyes alone to spot the last stitch of a row! Instead, let two locking plastic stitch markers do all the work for you:
- Chain & Turn to begin Row 2.
- Work Your Very First Stitch of the row.
- STOP and Clip a Stitch Marker right under the top
"V"loops of that first stitch you just made. - Crochet Across the Row as normal. When you reach the end of the row, you will see the stitch marker you placed at the beginning of the previous row waiting for you!
- Unclip the Marker, Work Your Final Stitch Right Into That Spot, chain, turn, and repeat!
[!TIP] Why This Works 100% of the Time: A stitch looks completely clear and obvious the moment you make it at the start of a row. It only becomes hard to see when you come back to it at the end of the next row. Marking Stitch #1 while it is fresh guarantees you will never miss the last stitch again!
🚨 Mistake #2: Adding Extra Stitches at the Turning Chain (Why Your Crochet Gets Wider)
What if your blanket or scarf is doing the exact opposite—getting wider and wider like a ruffled trapezoid?
This happens when you get confused by the Turning Chain (the ch 1, ch 2, or ch 3 you make at the end of a row to lift your hook up to the height of the next row). There are two ways beginners accidentally add stitches here:
- Double-Dipping into Stitch #1: If a pattern uses a
ch 3turning chain that counts as your first Double Crochet stitch, you are supposed to skip the very first stitch at the base of that chain and work into the second stitch. If you work into the base of thech 3anyway, you just turned 1 stitch into 2 stitches! - Mistaking the
Ch 1Turning Chain for a Stitch: In Single Crochet (sc), thech 1turning chain does NOT count as a stitch. However, at the end of the next row, that littlech 1bump on the side edge looks awfully similar to a real stitch. If you crochet into it, your row grows by 1 stitch every time!
📋 The Ultimate Turning Chain Cheat Sheet
Bookmark or screenshot this reference table so you always know how to handle the start and end of your rows:
| Crochet Stitch | Standard Turning Chain | Does the Turning Chain Count as a Stitch? | Where to Put Your First Stitch of the Row | Do You Crochet Into the Turning Chain at the End of the Next Row? |
|---|---|---|---|---|
Single Crochet (sc) | Ch 1 | NO | In the very first stitch (right at the base of the ch 1) | NO (Ignore the ch 1 bump!) |
Half Double Crochet (hdc) | Ch 1 or Ch 2 | Usually NO (check pattern notes) | In the very first stitch (at the base of the chain) | NO (Unless pattern states ch 2 counts as a stitch) |
Double Crochet (dc) | Ch 3 (or Ch 2) | YES (usually counts as 1st dc) | Skip the 1st stitch and work into the 2nd stitch | YES (Work your last stitch into the top of the ch 3!) |
Treble Crochet (tr) | Ch 4 | YES (counts as 1st tr) | Skip the 1st stitch and work into the 2nd stitch | YES (Work your last stitch into the 4th chain of the ch 4!) |
[!IMPORTANT] Pro Tip for Double Crochet (
dc): If you hate the gap left by ach 3turning chain in Double Crochet, try this studio secret: Chain only 2 (ch 2), do NOT count it as a stitch, and work a real Double Crochet directly into the very first stitch of the row! Just clip your stitch marker into that realdcand ignore thech 2. Your edges will be 10x straighter and gap-free!
Get Our 74-Page "Stitch by Stitch" Beginner E-Book ($1.00)
Inside Chapter 5 ("Crochet ER: Fixing Mistakes Without Starting Over"), you'll get close-up visual diagrams of crooked vs. straight edges, step-by-step stitch counting guides, and 2 foolproof weekend patterns designed specifically to build straight-edge muscle memory!
✨ Grab the 74-Page E-Book on Gumroad ($1.00) ➔🔢 How to Count Crochet Stitches Accurately (2 Easy Methods)
Even with stitch markers, knowing how to count crochet stitches at the end of a row is your best insurance policy for straight edges. Here are the two ways to count stitches like a pro:
Method 1: Counting the Top "V" Shapes (Best for Single Crochet & Amigurumi)
Tilt the top edge of your crochet row slightly toward you so you are looking straight down at the top ridge (like looking down at a braided ponytail):
- Every completed crochet stitch forms a distinct sideways
"V"shape (composed of a Front Loop and a Back Loop). - Start at the opposite end of your row (or right next to your hook) and touch each
"V"with the tip of your tapestry needle or fingernail as you count: 1, 2, 3, 4… - Rule of Thumb: Never count the active loop currently sitting on your crochet hook!
Method 2: Counting the Vertical Stitch “Posts” (Best for Half Double, Double & Treble Crochet)
When working taller stitches like hdc, dc, or tr, it is actually much faster to lay your work flat on the table and count the vertical posts (the tall vertical “columns” or “legs” standing side by side across the row):
- Gently stretch the row horizontally with your fingers so the vertical posts separate slightly.
- Count each vertical column from left to right.
- Remember: If your
ch 3turning chain counts as a stitch, be sure to count that starting chain column as Stitch #1!
✨ 3 Pro Secrets for Clean, Store-Bought Side Edges
What if your stitch count is 100% accurate on every row, yet the left and right edges of your scarf or blanket still look slightly scalloped or bumpy? Use these 3 simple finishing habits to make your edges look laser-cut:
1. Always Turn Your Work the Same Way (The “Book Page” Flip)
Did you know that flipping your crochet piece clockwise on one row and counter-clockwise on the next creates alternating knots along your side edge?
- The Fix: At the end of every row, turn your work counter-clockwise—just like turning the page of a book from right to left. Keeping the yarn behind or in front consistently makes every row edge match.
2. Chain After You Turn (Not Before!)
Most people chain 1 before flipping their work, and then turn. Try flipping your work first, and then making your ch 1 turning chain! Chaining after turning pulls the side loop snug against the edge of the fabric so it doesn’t bulge outward.
3. Add a Simple Single Crochet Border or Wet-Block Your Piece
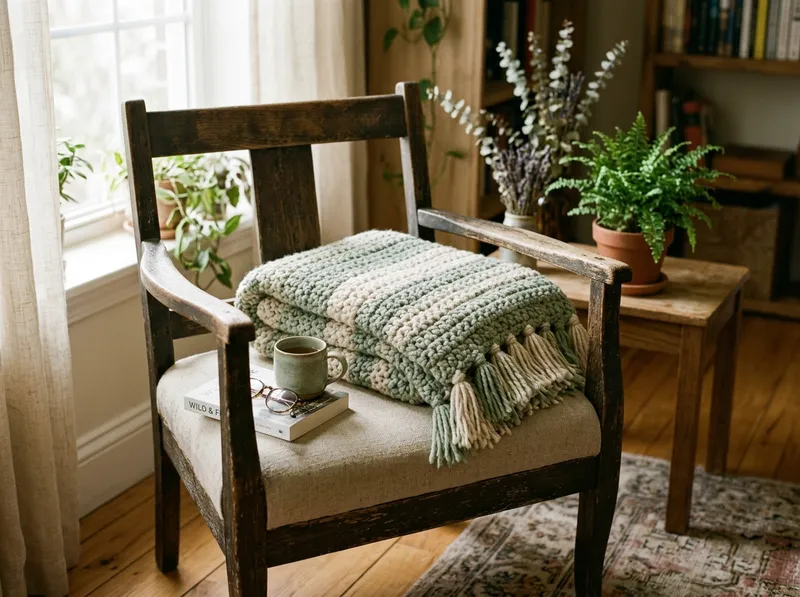
Even the most experienced crocheters know that a quick Single Crochet (sc) border worked evenly around all 4 sides of a blanket or dishcloth instantly hides any tiny tension bumps. And if you are making a garment or throw blanket (like our Cozy Textured Throw Blanket or Evergreen Yoke Sweater), steam-blocking or wet-blocking relaxes the yarn fibers so the edges settle into a crisp, straight line!
❓ Frequently Asked Questions (Straight Crochet Edges FAQ)
Why does my crochet rectangle keep turning into a triangle?
When a crochet rectangle narrows into a triangle, you are accidentally skipping the last stitch of each row (or skipping the first stitch after turning). Because the final stitch of a row often tilts downward on the side edge, it is easy to miss. Clip a locking stitch marker into the first stitch of every row so you know the exact spot to work your last stitch into when you return on the next row.
Does the loop on my crochet hook count as a stitch?
No! The active working loop currently sitting on your crochet hook never counts as a stitch—whether you are counting a foundation chain or counting completed stitches across a row. Always start counting with the first full "V" right below or beside your hook.
Should I chain before or after I turn my work?
Either method is completely valid as long as you do it consistently on every single row! However, many crocheters find that turning their work first (like flipping a book page) and chaining after turning creates a cleaner, flatter side edge with less bulging on Single Crochet (sc) and Half Double Crochet (hdc) rows.
Can I fix crooked crochet edges without ripping out (“frogging”) my work?
If your stitch count only drifted by 1 stitch over a long blanket, you can usually disguise the slight dip by working a Single Crochet border around the finished piece and gently blocking the fabric on foam mats. However, if you lost or gained 3 or more stitches and your project is visibly slanted, it is always worth gently pulling the yarn back (“frogging”) to the row where the count changed, clipping in two stitch markers, and re-stitching cleanly!
🎓 Ready to Crochet with Total Confidence This Weekend?
Once you clip two locking stitch markers into the first and last stitch of your rows, crooked edges become a thing of the past!
If you want a step-by-step, frustration-free companion right beside you on your phone, tablet, or printer, check out our 74-Page “Stitch by Stitch: Learn to Crochet with Confidence in One Weekend” E-Book—available right now for just $1.00!
🔗 Next Beginner Tutorials to Explore:
- 🧶 How to Crochet for Beginners (Ultimate Step-by-Step Guide)
- 🧶 How to Make a Single Crochet Stitch (
sc) - 🧶 How to Make a Half Double Crochet Stitch (
hdc) - 🌲 The Evergreen Yoke Sweater | Modern Crochet Pattern (PDF — $0+)
Want the Complete 'Stitch by Stitch' Weekend Crochet Guide?
Explore our full 74-page beginner E-Book with visual stitch diagrams, US vs. UK conversion tables, Crochet ER troubleshooting, and 2 modern weekend projects.
- ✔️ The Starter Kit & Foundations: Hook sizing (5.0 mm), Weight #4 yarn guide, slip knots & tension control
- ✔️ The 4 Core Stitches & Pattern Reading: Single, Half Double, Double Crochet, Turning Chains & US vs. UK terms
- ✔️ Crochet ER + 2 Weekend Projects: Fix curling or slanted edges & make the Ribbed Mug Rug + Cozy Scarf