Stitch by Stitch: Learn to Crochet with Confidence in One Weekend
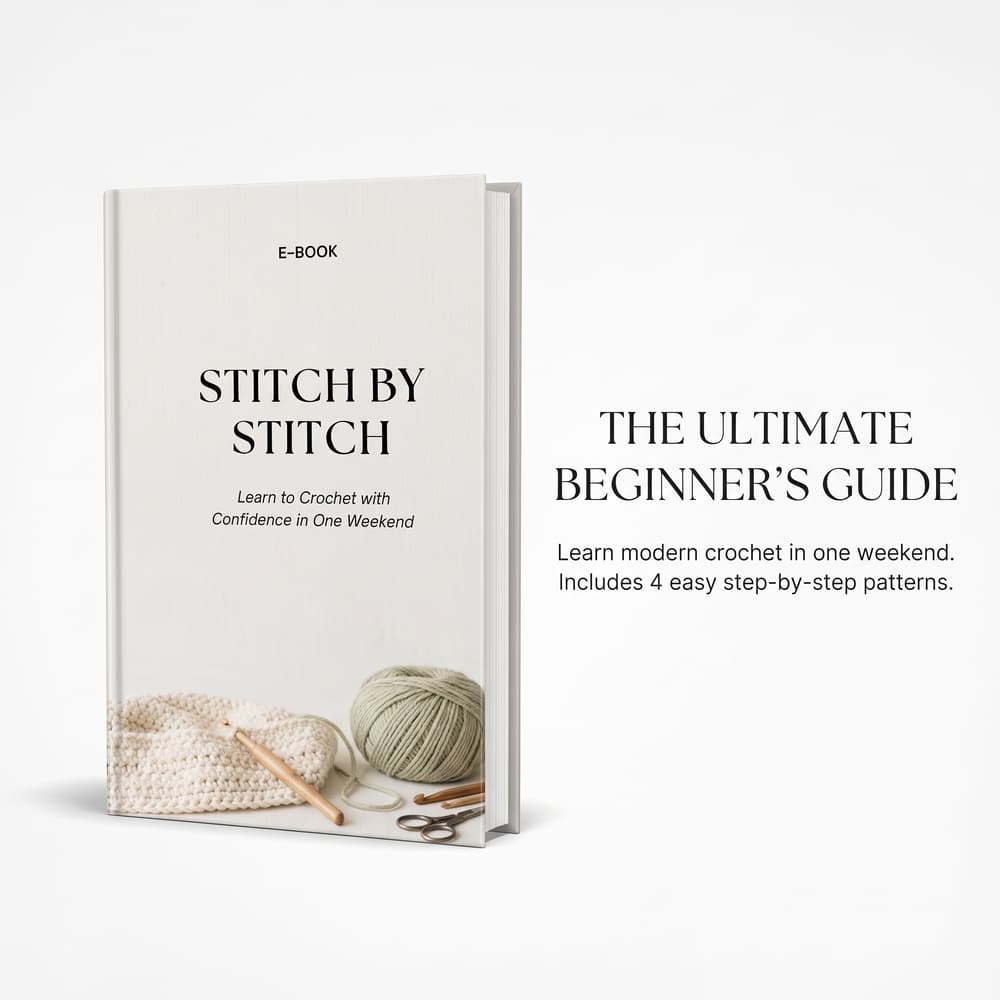
Have you ever picked up a crochet hook only to end up with sore hands, tangled yarn, and a rectangle that turned into a triangle? Get our complete 74-page digital E-Book covering your starter tool kit, tension & grip, the 4 core stitches, pattern reading, Crochet ER troubleshooting, and 2 modern weekend projects!
- ✔️ The Starter Kit & Foundations: Hook sizing (5.0 mm), Weight #4 yarn guide, slip knots & tension control
- ✔️ The 4 Core Stitches & Pattern Reading: Single, Half Double, Double Crochet, Turning Chains & US vs. UK terms
- ✔️ Crochet ER + 2 Weekend Projects: Fix curling or slanted edges & make the Ribbed Mug Rug + Cozy Scarf
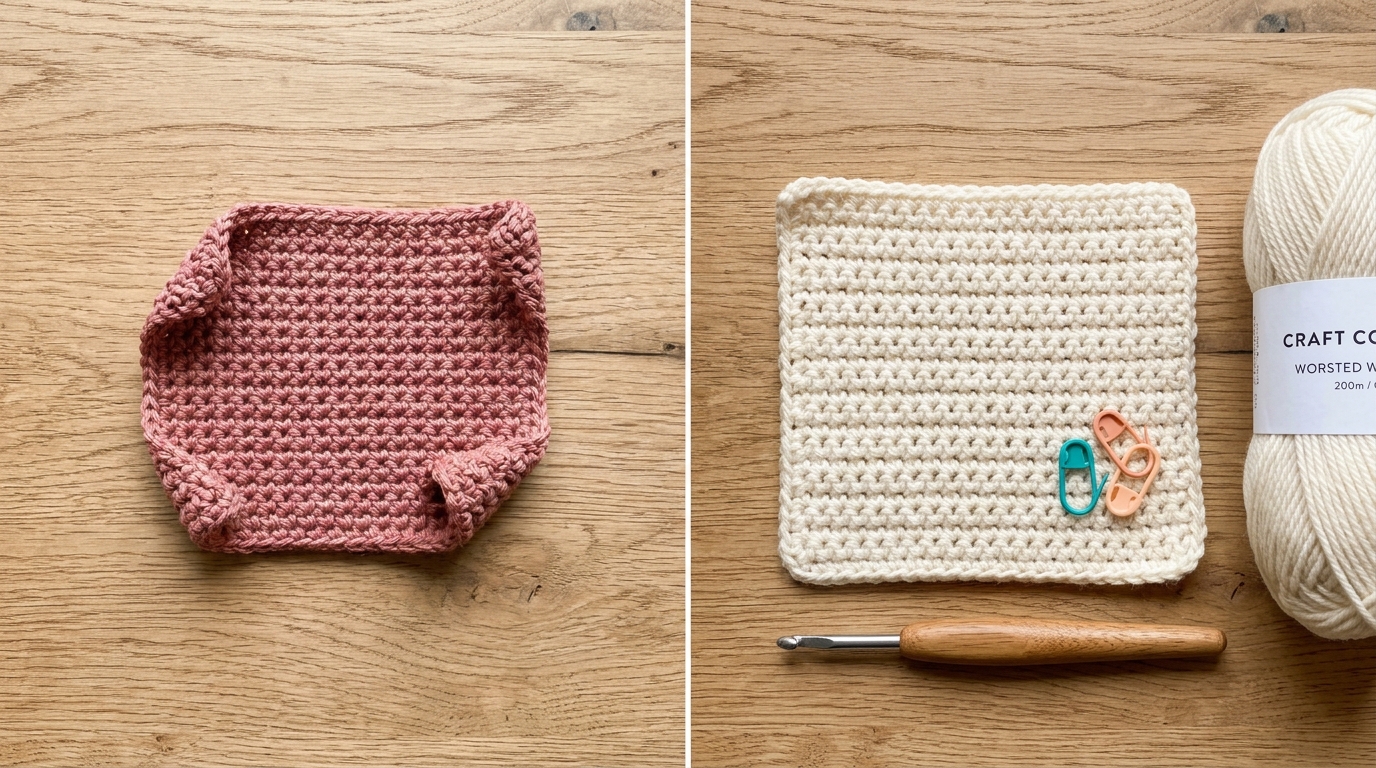
You just chained 25 stitches, worked your first two rows of Single Crochet (sc), and set your work down on the table to admire it—only to watch the entire strip curl up into a tight little cylinder like a cinnamon roll!
If you are asking yourself “why is my crochet curling?”, first know that this happens to almost 100% of beginners (and even seasoned crocheters when starting a new stitch!). Curling does not automatically mean you ruined your project—in fact, sometimes a little curling on Row 1 and Row 2 is natural physics before the weight of the fabric pulls it down.
However, if your work is still rolling inward after 4 or 5 rows—or if your circle or granny square is cupping upward like a cereal bowl—there is a specific mechanical reason behind it.
In this troubleshooting guide, we will diagnose why your crochet is curling and show you 5 easy, immediate ways to flatten curling crochet and prevent it on every future project!
✨ Want Our Complete “Crochet ER” Troubleshooting Clinic? Inside Chapters 2 & 5 of our 74-Page “Stitch by Stitch” Beginner E-Book ($1.00 Special Offer), you’ll learn our effortless finger-tension method, how to fix curling or slanted edges, and practice on 2 foolproof weekend patterns!
⚡ Quick Answer: How to Stop Crochet From Curling Immediately
[!NOTE] The 3 Fastest Fixes for Curling Crochet:
- Use a Crochet Hook 1 Size Larger (
+0.5 mmto+1.0 mm) for Your Foundation Chain Only: 90% of bottom-edge curling happens because your starting chain is tighter and narrower than the stitches worked into it. Make your chain with a6.0 mmhook, then switch back to your5.0 mmhook for Row 1!- Relax Your Tension & Let the Hook Shaft Size Your Loops: Stop pulling the working yarn tight after every stitch! Slide each loop onto the widest, thickest shaft of your crochet hook (behind the throat) so the stitches have room to breathe and lie flat.
- Steam-Block or Wet-Block Your Finished Piece: If you already finished your project and the edges are curling slightly, pinning it flat on a towel or foam mat with warm water or steam relaxes the yarn fibers permanently!
🔍 Diagnose Your Curl: Where Is Your Crochet Curling?
Not all crochet curling has the same cause! Match your project to the table below to find out exactly why your fabric is rolling up:
| Where Is It Curling? | What It Looks Like | The Root Cause | The Instant Fix |
|---|---|---|---|
| 1. Bottom Edge Only (Rows 1–3) | The starting chain edge rolls tightly into a tube or rainbow arch | Your foundation chain is tighter than your Row 1 stitches | Use a 0.5 mm–1.0 mm larger hook for the foundation chain only! |
| 2. All Four Edges of a Flat Piece | The entire swatch feels stiff, rigid, and curls inward on all sides | Your hook is too small for your yarn weight, or you are pulling loops too tight | Go up 1 full hook size (e.g., from 4.5 mm to 5.5 mm) and loosen your grip. |
| 3. Circular Project Cups Up Like a Bowl | Your flat coaster, hat crown, or circle curls upward into a dome | Too few stitches (not enough increases) per round, or tight tension | Add standard flat-circle increases (+6 sc or +12 dc per round). |
| 4. Circular Project Ruffles Like a Lettuce Leaf | The outer edge waves and flops up and down | Too many stitches (too many increases) packed into one round | Check your stitch count—you may be increasing in every stitch instead of spacing them out. |
🛠️ Fix #1: The “Two-Hook Trick” for Tight Foundation Chains
Why does the bottom edge of almost every beginner scarf curl into a rainbow arch?
When you make a foundation chain (ch), each chain stitch uses a tiny amount of yarn. When you turn and work Row 1 of Single Crochet or Double Crochet into that chain, each stitch wraps four to six strands of yarn into those tiny chain loops. Because the top of Row 1 is wider than the tight bottom chain, the bottom chain pulls inward like a drawstring—forcing the entire strip to curl!
How to Do the Two-Hook Trick:
- Check what hook size your pattern recommends (for example, a
5.0 mm(US H-8) hook for Medium #4 Worsted yarn). - Grab a hook one or two sizes larger—such as a
5.5 mm(I-9) or6.0 mm(J-10) hook—and make your entire foundation chain with that larger hook. - Once your foundation chain is finished, switch back to your regular
5.0 mmhook for Row 1 and the rest of the project!
Your bottom edge will immediately lie 100% flat, stretchy, and even with the rest of your rows!
🛠️ Fix #2: Stop “Strangling” Your Hook (The Golden Shaft Rule)
If your crochet curls not just at the bottom, but on row after row—and you have to push hard just to force your hook into the previous row’s stitches—you have Tight Beginner Tension (affectionately known by crocheters as “Death-Grip Tension”!).
When you are nervous about dropping a loop on your hook, your non-dominant hand instinctively pulls the working yarn tight after every single yarn-over. This shrinks the loop down around the narrowest neck (throat) of the crochet hook, creating tiny, stiff, bullet-proof stitches that curl inward.
How to Let the Hook Do the Work:
- Look at Your Hook’s Anatomy: Every crochet hook has a narrow throat right behind the tip, and a thicker cylindrical shaft (working area) behind that. (See our guide on Crochet Hook Sizes Explained for a visual diagram!).
- Slide Every Loop Onto the Shaft: Every time you pull up a loop, push the hook slightly forward so the loop slides back onto the thickest part of the shaft. That shaft is what calibrates the exact
5.0 mmsize of your stitch! - Never Tug the Yarn After Completing a Stitch: Once you pull through the final loops to complete a stitch, resist the urge to give the working yarn an extra “cinch.” Leave the top
"V"soft and open.
Grab Our 74-Page "Stitch by Stitch" Beginner E-Book ($1.00)
Struggling with sore hands, tight loops, and curling edges? Inside Chapter 2 ("First Loops & Tension Control") and Chapter 5 ("Crochet ER") of our 74-page digital guide, we teach you effortless finger wraps and step-by-step fixes so your stitches lie flat from Day 1!
✨ Get the 74-Page E-Book on Gumroad ($1.00) ➔🛠️ Fix #3: Match Your Hook Size to Your Yarn Weight
Another sneaky culprit behind curling crochet is pairing a chunky or heavy yarn with a hook that is too small.
When you force thick yarn into small loops with a tiny hook, the yarn fibers have nowhere to expand horizontally—so they push against each other and curl the fabric upward!
If you are practicing flat rows (like scarves, blankets, or dishcloths), use this Anti-Curl Hook Pairing Table:
| Yarn Weight Category | Standard Label Hook Size | Best Hook Size If You Crochet Tightly (Anti-Curl!) |
|---|---|---|
| #3 DK / Light Worsted | 4.0 mm – 4.5 mm | 4.5 mm – 5.0 mm (H-8) |
| #4 Medium / Worsted Weight | 5.0 mm – 5.5 mm | 5.5 mm (I-9) – 6.0 mm (J-10) |
| #5 Bulky / Chunky | 6.0 mm – 6.5 mm | 7.0 mm – 8.0 mm (L-11) |
(Note: The only exception is Amigurumi plushies, where you intentionally use a smaller 3.5 mm–4.0 mm hook so the stuffing doesn’t peek through—and where cupping into a 3D ball is actually what you want!)
🛠️ Fix #4: Work Into the “Back Bump” of the Foundation Chain
When you crochet Row 1 into your starting chain, where do you insert your hook?
Most beginners insert their hook under only the single top loop of the "V" of the chain. Pulling up on that single top strand stretches the top of the chain while pulling the bottom strand tight—creating an automatic curl!
Try the “Back Bump” (3rd Loop) Method Instead:
- Make your foundation chain normally, then flip the chain over so you are looking at the back side.
- Running right down the center of the back of the chain is a neat row of horizontal “camel bumps” (also called the back ridge or back bump).
- Insert your hook under that single back bump for every stitch of Row 1!
- Why It Works: Working into the back bump balances the tension evenly across the bottom edge AND leaves a gorgeous braided
"V"edge along the bottom of your project that matches the top row!
🛠️ Fix #5: How to Flatten Crochet That Is Already Finished (Blocking!)
What if you already finished crocheting your coaster, granny square, or scarf, and the edges are still curling up? Do not rip it out! You can flatten it permanently in 15 minutes using Blocking:
Method A: Wet Blocking (Best for Cotton, Wool & Blends)
- Submerge your finished crochet piece in a bowl of cool water for 10 minutes, then gently press out excess water in a clean towel (never wring or twist!).
- Lay the damp piece flat on a foam blocking mat, yoga mat, or folded bath towel.
- Gently pat and shape the edges until they are completely flat and straight (see our guide on How to Keep Crochet Edges Straight).
- Pin the corners and edges down with rust-proof pins and let it air-dry completely. Once dry, the yarn “remembers” its flat shape!
Method B: Steam Blocking (Best for 100% Acrylic Yarn)
- Pin your dry acrylic crochet piece flat onto an ironing board or towel.
- Hold a garment steamer or steam iron 1 to 2 inches above the yarn (never touch the hot iron plate directly to acrylic yarn, or the plastic fibers will melt!).
- Puff warm steam across the curling edges, gently pat the fabric flat with your hand, and let it cool completely before unpinning. The curl will vanish like magic!
❓ Frequently Asked Questions
Is it normal for the first 2 rows of single crochet to curl?
Yes! Even with perfect tension, the first 1 to 3 rows of Single Crochet (sc) naturally curl slightly because there isn’t enough fabric weight hanging below the hook yet. If your foundation chain is loose enough to stretch comfortably when you tug it gently, keep crocheting to Row 5—the curl usually relaxes on its own as the piece grows!
Why is my crochet circle curling up into a bowl?
When crocheting in the round (starting with a Magic Ring), your circle will curl upward into a bowl if you aren’t increasing enough stitches on each round (or if your hook is too small). To keep a flat circle flat, you must add the exact same number of stitches on every single round that you started with in Round 1 (for example: Round 1 = 6 sc, Round 2 = 12 sc, Round 3 = 18 sc, Round 4 = 24 sc).
Does adding a border stop a crochet blanket from curling?
Yes! Adding 1 or 2 rounds of Single Crochet (sc) or Half Double Crochet (hdc) evenly around all four sides of a finished blanket or scarf (working 3 sc into each of the four corners) acts like a picture frame that weighs down and stabilizes curling edges.
🔗 Continue Your Beginner Crochet Journey:
- 🧶 Why Are My Crochet Edges Crooked? (How to Keep Straight Edges & Count Stitches)
- 🧶 How to Read a Crochet Pattern for Beginners (Abbreviations Decoded)
- 🧶 How to Make a Double Crochet Stitch (
dc) Step-by-Step - 🌲 The Evergreen Yoke Sweater | Modern Crochet Pattern (PDF — $0+)
Want the Complete 'Stitch by Stitch' Weekend Crochet Guide?
Explore our full 74-page beginner E-Book with visual stitch diagrams, US vs. UK conversion tables, Crochet ER troubleshooting, and 2 modern weekend projects.
- ✔️ The Starter Kit & Foundations: Hook sizing (5.0 mm), Weight #4 yarn guide, slip knots & tension control
- ✔️ The 4 Core Stitches & Pattern Reading: Single, Half Double, Double Crochet, Turning Chains & US vs. UK terms
- ✔️ Crochet ER + 2 Weekend Projects: Fix curling or slanted edges & make the Ribbed Mug Rug + Cozy Scarf